Pro’s to running a forensic workstation in a virtual machine:
Snapshots - this allows you the ability to set up your forensic workstation exactly like you want, install the tools you want, and maintain a sterile forensic environment from which to perform all of your examinations.
If you accidentally detonate some malware or ransomware on your forensic workstation you can shutdown the VM and roll it back to the last known good install and restart the examination without losing hours of work reinstalling the base OS, tools, and case files.
VM’s are portable and can be taken with you on external hard drives or thumb drives and installed on multiple machines to increase efficiency and decrease case processing times.
Con’s to running a forensic workstation in a virtual machine:
You may not have enough processing power and memory to support a forensic workstation in a VM, and the examination could actually be processed faster running natively on the host system using all available system resources.
USB connections and Networking connectivity can sometimes be a tricky issue and takes some practice getting the bugs worked out.
Licensing issues with some commercial forensic tools may prevent you from running them inside of a VM.
I personally feel that the benefits of running a forensic workstation inside of a virtual machine far outweigh the negatives. In my case, I have a dedicated forensic workstation that was purpose built for performing digital forensics and has multiple CPU cores and a hefty amount of RAM. I have my host OS running on a dedicated NVMe solid state drive, a second larger NVMe SSD for case processing, and a third SATA SSD for the guest VM’s. This is important as the host operating system and the Guest VM ideally need to be running from separate locations and the case processing drive should also be separate from those drives. This will yield better performance and fewer problems from simultaneous Reads/Writes all occurring on the same hard drive at the same time. If you have an older laptop or desktop system that doesn’t have at least 16 GB of RAM and a quad core CPU you can still follow along. Just skip the VirtualBox install and start with a clean install of Windows 10 Pro, and use it as a dedicated forensics machine.
Normally, I wouldn’t spend a lot of time going through a step-by-step tutorial on how to set up and install a forensic virtual machine. However, because this is going to be the foundation from which all of our future learning and processing of cases will be based off of, it is important that we have a properly set up and configured forensic workstation. Also, some of the readers may be brand new to digital forensics and may not have a solid background with more advanced computing topics like virtualization. Therefore, I will start this blog off with a very detailed yet easy to follow set up process. So, let’s get started…
First things first... update your host operating system! And while you are at it, make sure to check that your computer’s firmware is also up to date. Then download the Windows 10 .iso file or use the “Create Windows 10 installation media” tool from the following link:
https://www.microsoft.com/en-us/software-download/windows10
I can already hear the question, “But why not use Windows 11 and all of its newer features?” Good question; and the short answer is: I haven’t personally had time to test all of my standard use forensic tools yet on a Windows 11 system and I am unsure of its stability. Remember, our goal isn’t to have all the latest and greatest features of a new OS. It is stability, accuracy, and repeatable results from our forensic tools that we are after. It is on my short list of things to do and I will update this blog when I have tested and validated Windows 11 for use as a forensic workstation OS.
In order to make this base forensic workstation as low cost as possible we will be using as many free and open source tools as possible. Since Microsoft Windows is still the predominant software that most people are familiar with, we will start from here with our base OS as a Windows 10 Pro host, and we will be setting up a Windows 10 Pro VM for our forensic workstation. Really, you could use any OS as your host operating system as long as it is up to date, stable, and supports running Intel / AMD 64-bit processing. As for the virtualization platform, we will be running VirtualBox, which can be downloaded from the following link:
https://www.virtualbox.org/wiki/Downloads.
See Figure 1.
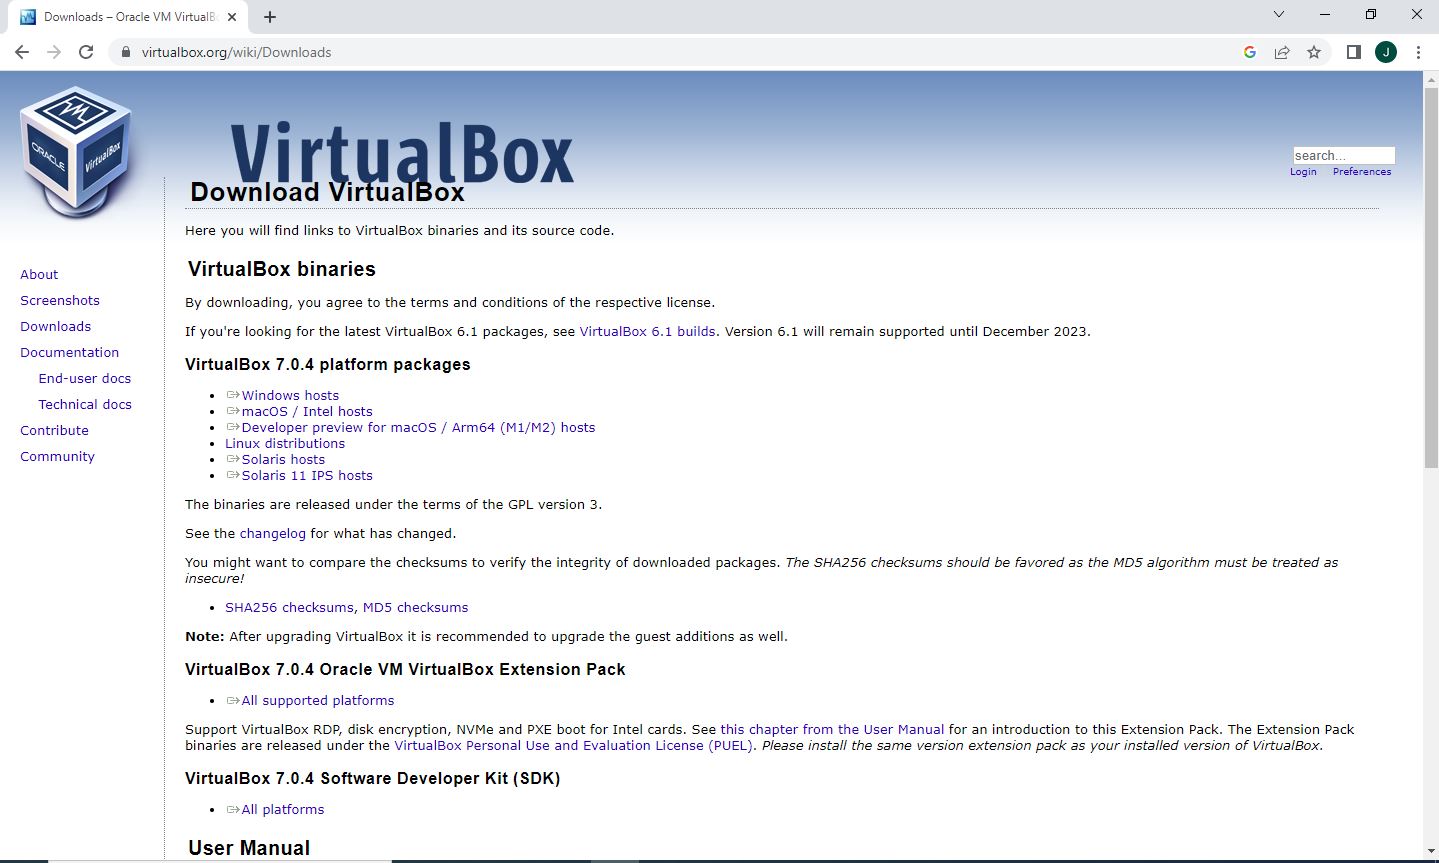
Figure 1 - Download VirtualBox
Again, other virtualization software is available (VMWare, Parallels, ProxMox, Hyper-V, and others). However, VirtualBox is:
1. Free.
2. Free for commercial use.
3. It is feature rich and stable.
4. Constantly developed and updated.
5. Large community of users.
Select the "Windows hosts" link and let the file download. Once the file finishes downloading, install VirtualBox keeping all of the default settings and options. Once the software has been installed we can create our first virtual machine.
See Figure 2.
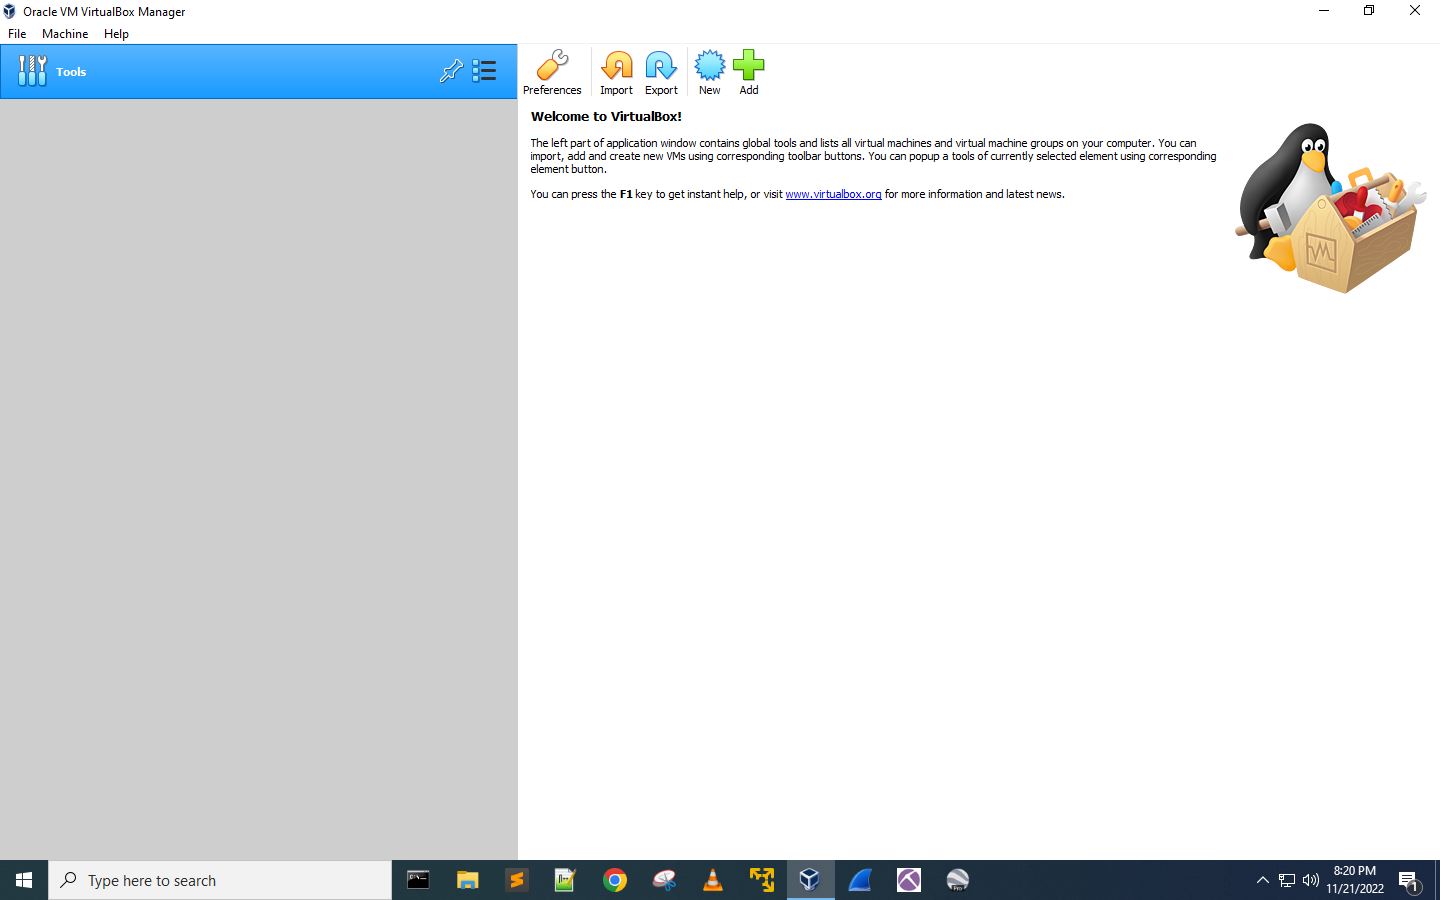
Figure 2 - VirtualBox is installed and we are ready to start installing our first VM.
Click on “New”.
A new VirtualBox window will open.
Give the new VM a name - I am using “Windows 10 Pro” but it can be anything you want.
Select a location to store your VM - remember to change this to a separate drive if at all possible for best performance.
Make sure the type is set to: Microsoft Windows
Make sure the Version is set to: Windows 10 (64-bit)
Give the VM the maximum amount of RAM as possible while still remaining in the “green” zone - at a minimum your host system should have 4 to 8 GB of RAM. The rest of
the remaining RAM can go to your VM.
Select “Create a virtual hard disk now”
See Figure 3.
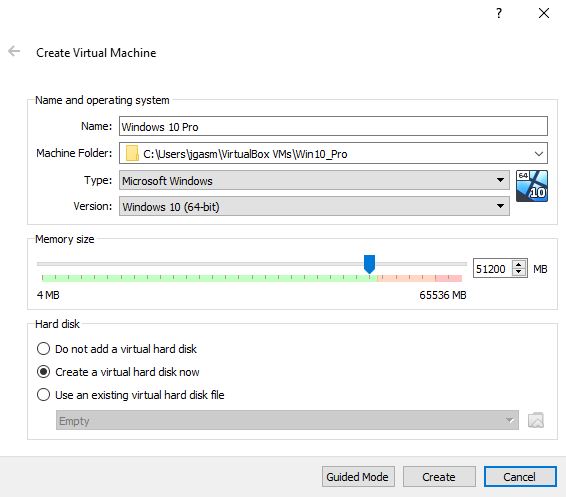
Figure 3 - New VM settings.
Select the file location where you will create the VM hard drive at.
Select the hard drive size to 200 GB’s minimum.
Set the hard disk file type to "VMDK".
Select “Dynamically Allocated”
See Figure 4.
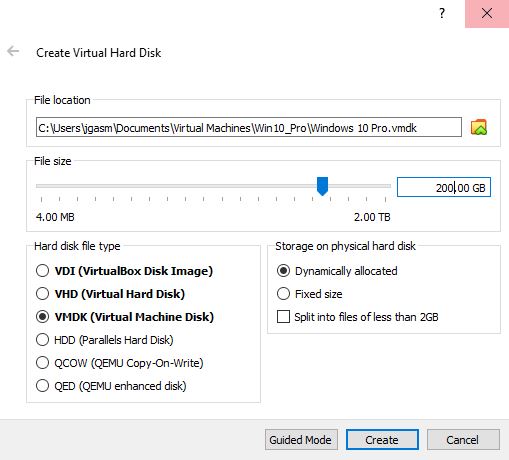
Figure 4 - Virtual Machine Hard Disk Settings
Click on Settings to change some of the advanced settings of the VM.
See Figure 5.

Figure 5 - Almost Ready… Let’s change some advanced settings.
Click on the “Advanced” tab and change the Shared Clipboard and Drag’n’Drop options to “Bidirectional.”
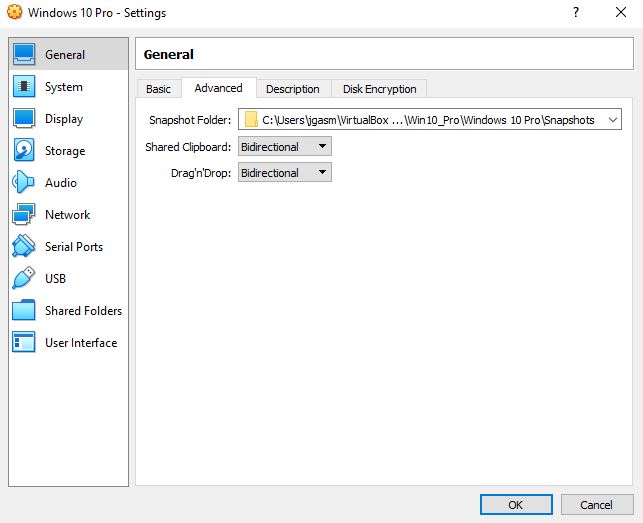
Figure 6
Click on “System” and change “Boot Order” to Hard Drive and Optical.
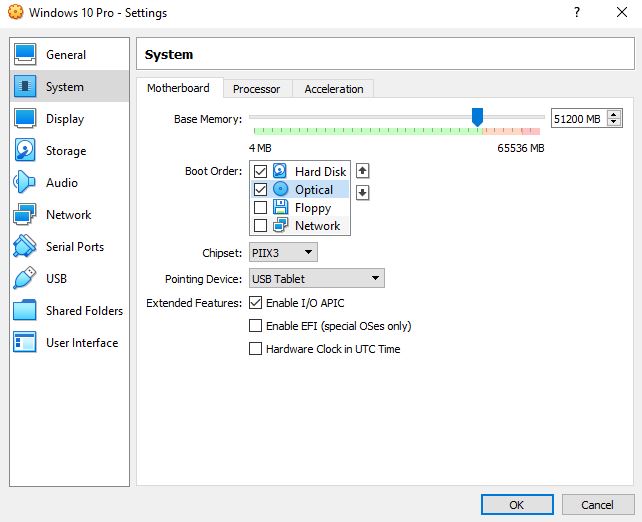
Figure 7
Click on the “Processor” tab and change the number of CPU’s to as many as you can spare while still providing enough for the host system to remain stable.
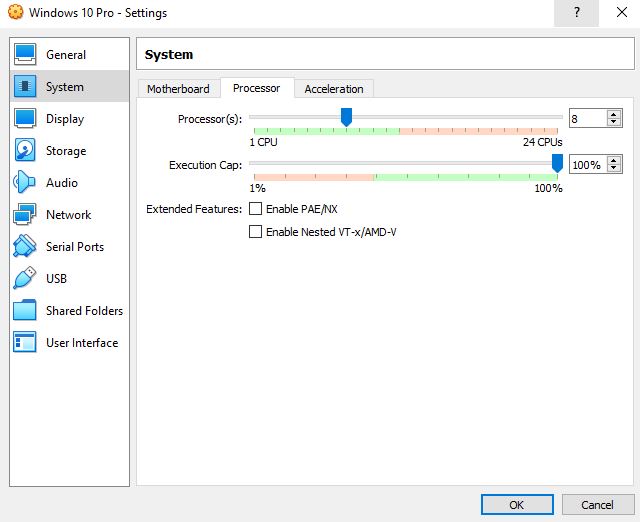
Figure 8.
Click on “Storage” and select the optical drive and point to the Windows 10 Pro .iso file to install Windows 10 Pro.
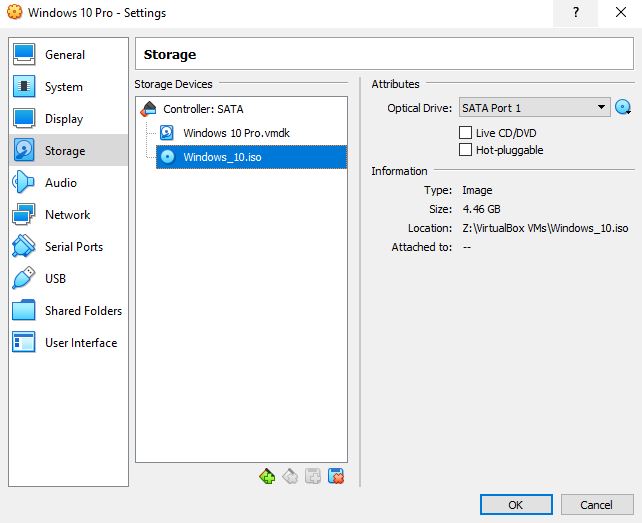
Figure 9.
Click on “Shared Folders”, click on the add folder button, and add a cases drive. Again this should be a separate drive from the host OS and VM hard drives. This will allow you to access the images, media, and/or storage location for our cases to be processed from.
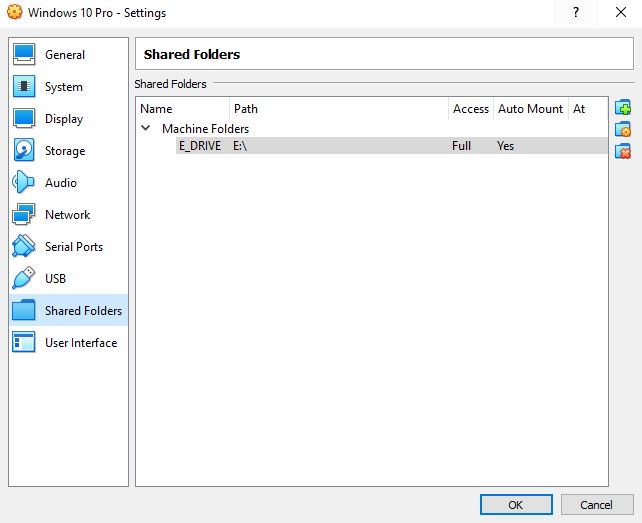
Figure 10
If everything matches above, select “Ok”.
Now let's start the virtual machine and begin the Windows 10 Installation process.
If you see the message “Press Any Key to Boot from Disk” - press any key.
See Figure 11.
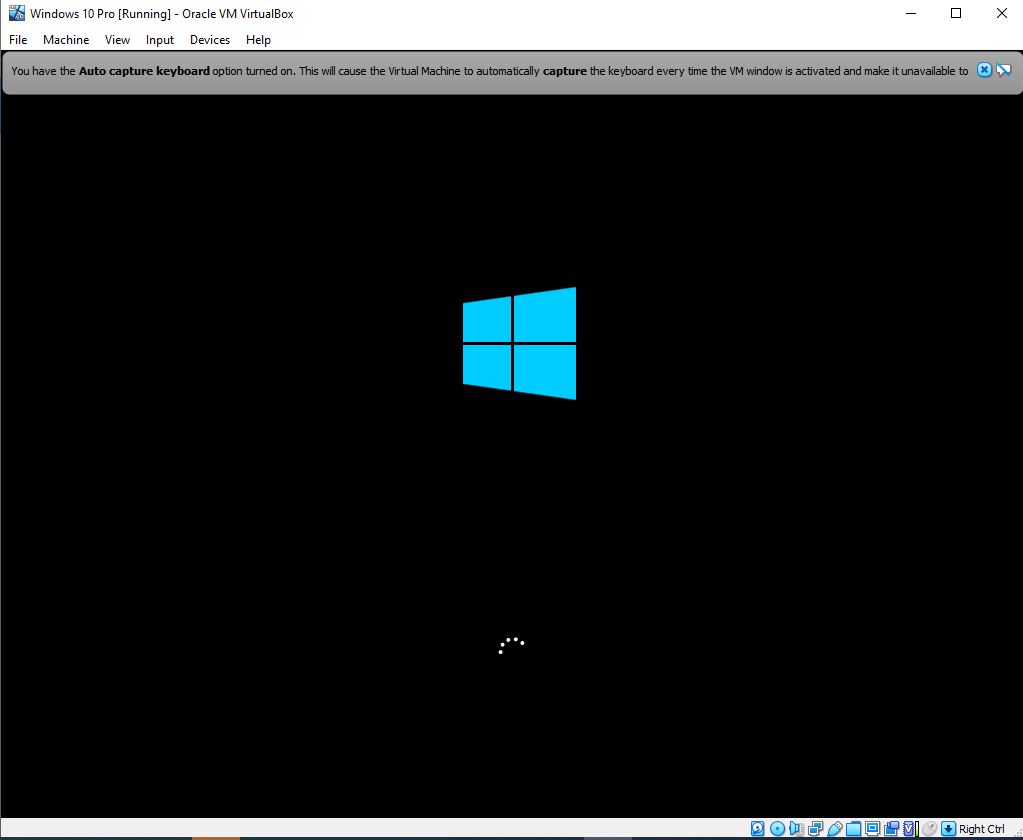
Figure 11 - Booting from the Windows 10 Pro .iso to install Windows.
The first screen that you will be presented with will be the “Windows Setup” screen.
Select your language - English (United States)
Select your time and currency format - English (United States)
Select your keyboard or input method - US
Press Next.
See Figure 12.
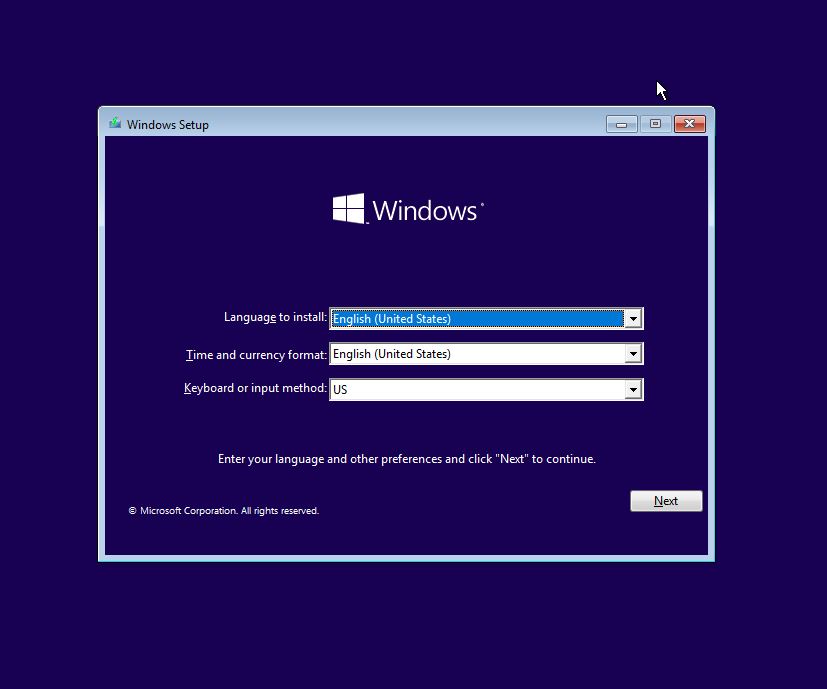
Figure 12 - Windows Setup
On the next screen, click “Install now.”
See Figure 13.
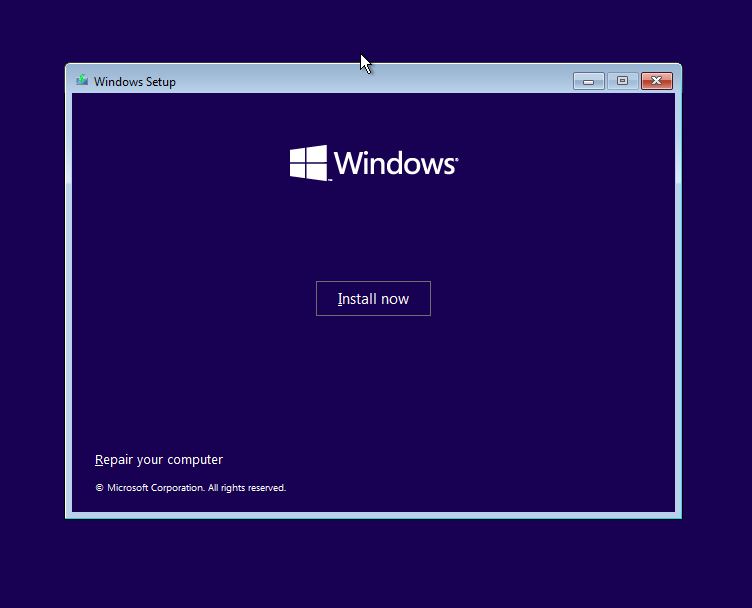
Figure 13
On this screen you will be prompted to enter your Windows 10 Pro product key.
If you have a Windows 7 Pro, 8 Pro, or 8.1 Pro Windows product key that you previously upgraded to Windows 10 Pro, it should work here.
If it doesn’t work you will need to purchase a new product key.
See Figure 14.
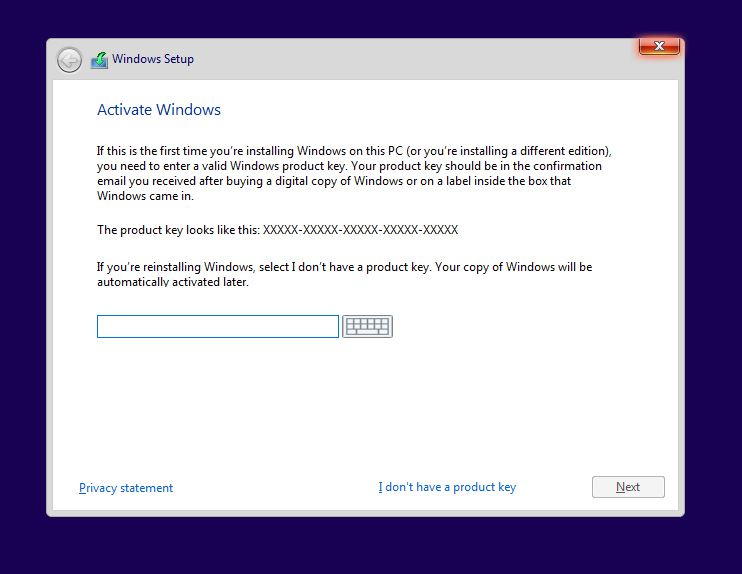
Figure 14 - Enter your Microsoft Windows 10 Pro Product Key.
On the next screen you will be presented with the Microsoft End User License Agreement.
Click the checkbox indicating you agree to the terms and conditions.
Press “Next.”
See Figure 15.
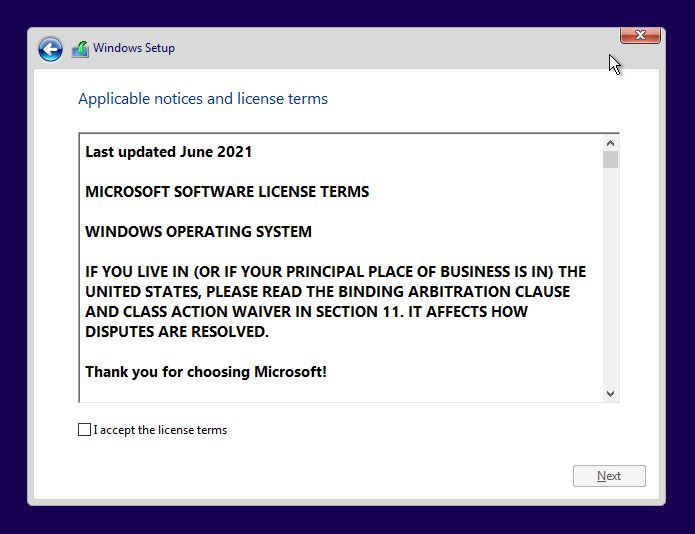
Figure 15 - Accept the license terms.
On the next screen select the type of Windows Installation you want, “Upgrade” or “Custom”
Select “Custom.”
See Figure 16.
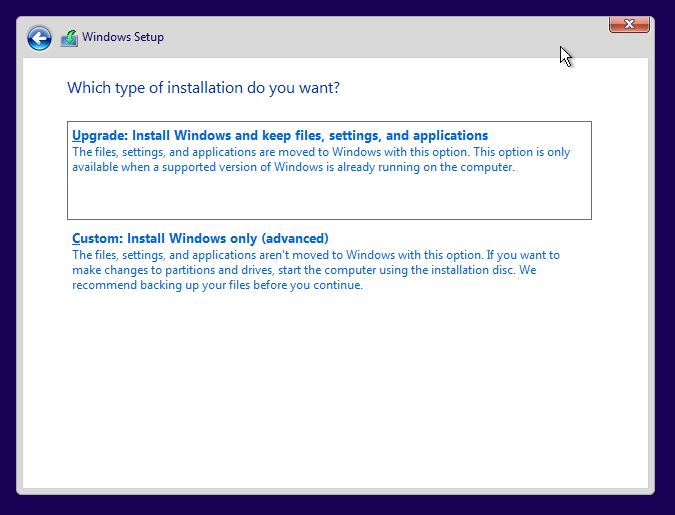
Figure 16 - Select the type of installation.
On the next screen you will be asked to select the hard drive where you will be installing Windows 10 Pro.
There should only be one option presented as we only setup one hard drive - a 200 GB volume.
Select “Drive 0 Unallocated Space.”
Press “Next.”
See Figure 17.
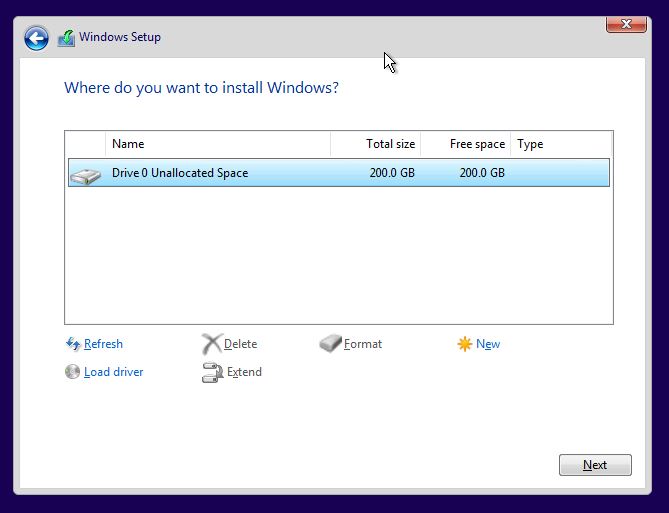
Figure 17 - Hard drive location of where to install Windows.
Now just sit back and wait until Windows finishes the installation process.
See Figure 18.
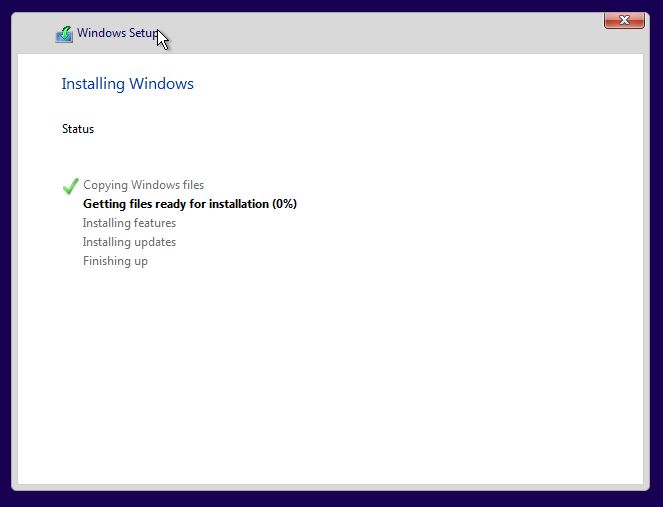
Figure 18 - Installing Windows screen.
Once the installation process completes, your virtual machine will reboot.
See Figure 19.
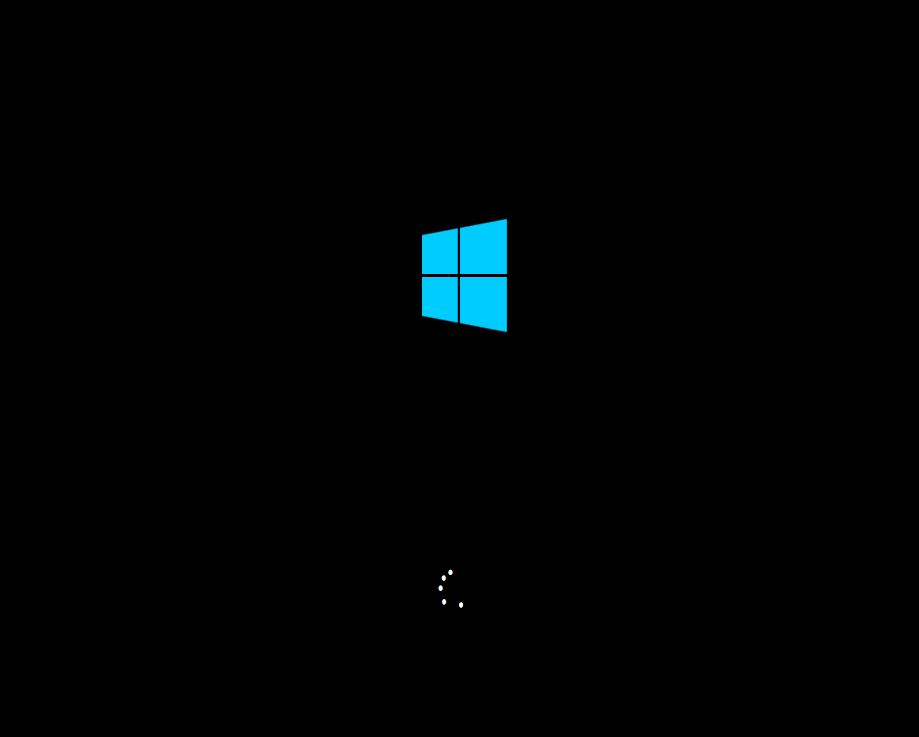
Figure 19 - Windows booting up for first time.
DO NOT push any keys if prompted to boot from the installation media.
Just let it time out and boot from the hard drive instead.
Note: It may reboot more than one time.
See Figure 20.

Figure 20 - Installation process, be patient.
Be patient and let the installation process finish.
Select your region “United States” in my case and press “Yes.”
See Figure 21.

Figure 21 - Configuration of Windows 10 Pro after installation.
Select your keyboard layout, “US” for me and press “Yes.”
See Figure 22.
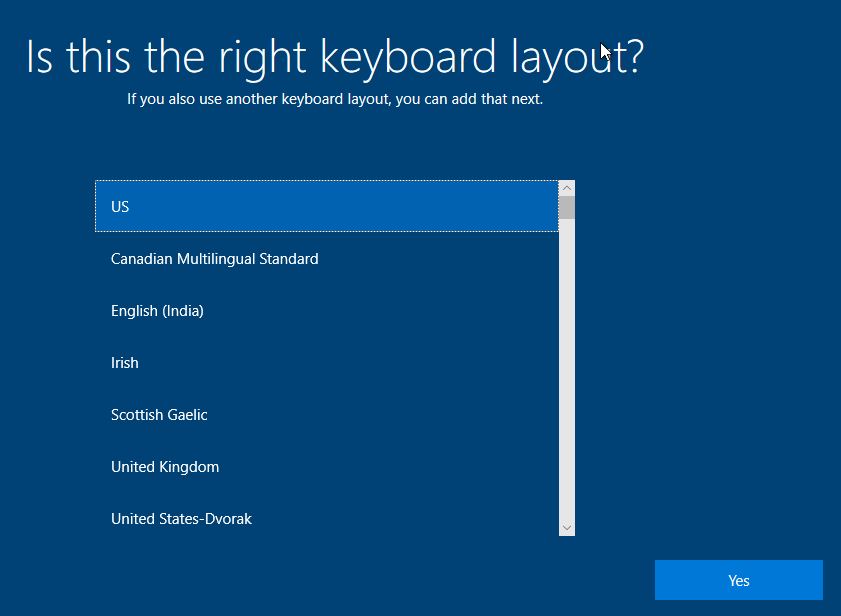
Figure 22 - Select your keyboard layout.
If you need or want to add a second keyboard layout you can do this now.
Otherwise select “Skip".
See Figure 23.
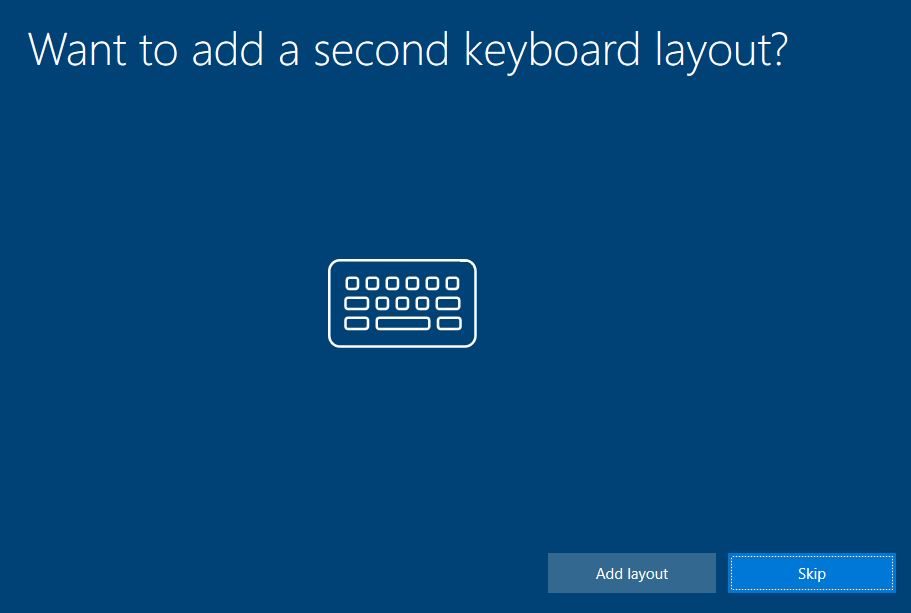
Figure 23 - Add a second keyboard layout now or select “Skip.”
Let the installation process continue.
It will reboot one or two times during this process.
Be patient and let it finish.
See Figures 24 & 25.
Figure 24
Figure 25
After the VM reboots you will arrive at the next screen of the setup.
Choose to setup the device as part of an “Organization.”
See Figure 26.
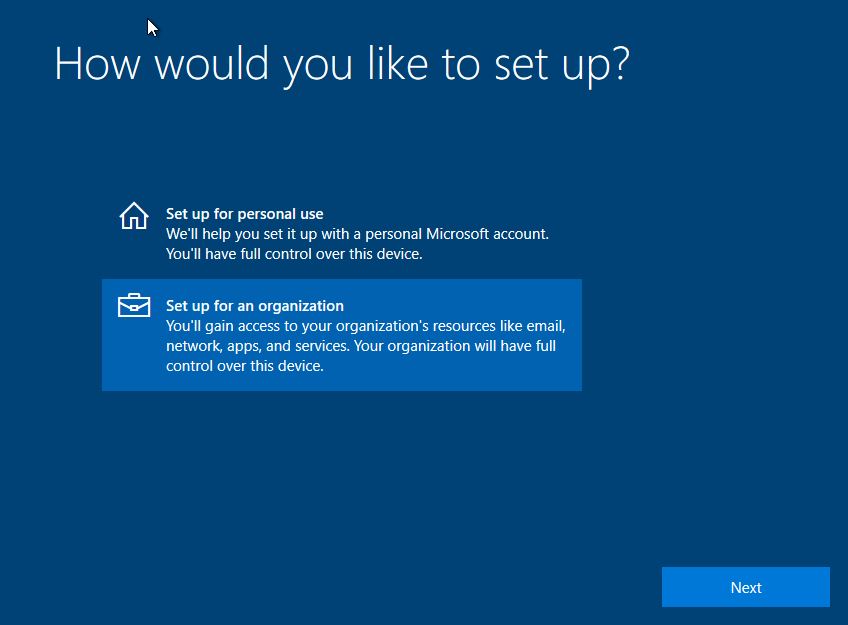
Figure 26
The next screen will prompt you to sign in with your “Organizations” credentials.
We want the forensic workstation to be sterile and not tied to an organization.
We will skip this step and choose the option in the bottom left corner, “Domain join instead”.
See Figure 27.
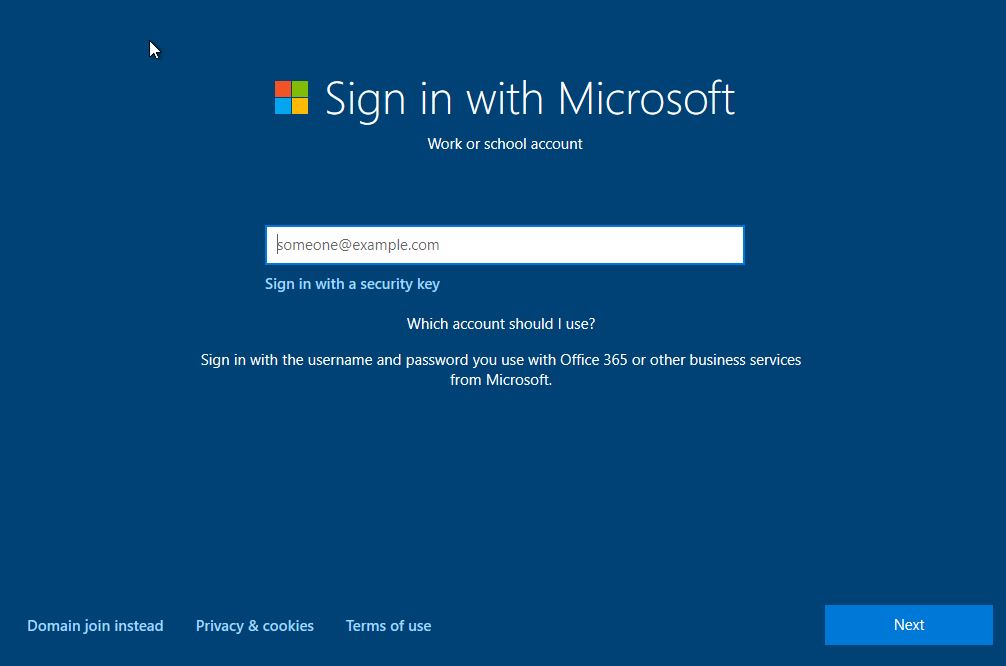
Figure 27 - Skip the sign in with Microsoft credentials and choose “Domain join instead.”
Choose a name to give your local account that will be created on the Virtual Machine.
My default username is “FORENSICS”.
See Figure 28.
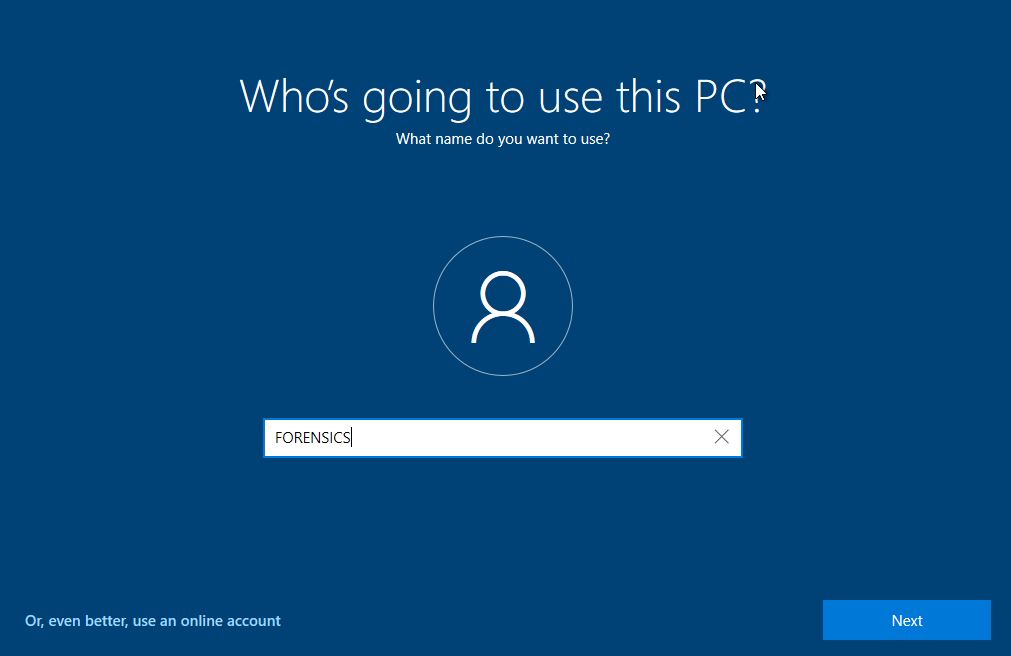
Figure 28 - Create a local account (i.e. “FORENSICS”).
Choose a password - something you can easily remember.
You will be asked to re-enter the password a second time.
See Figure 29.
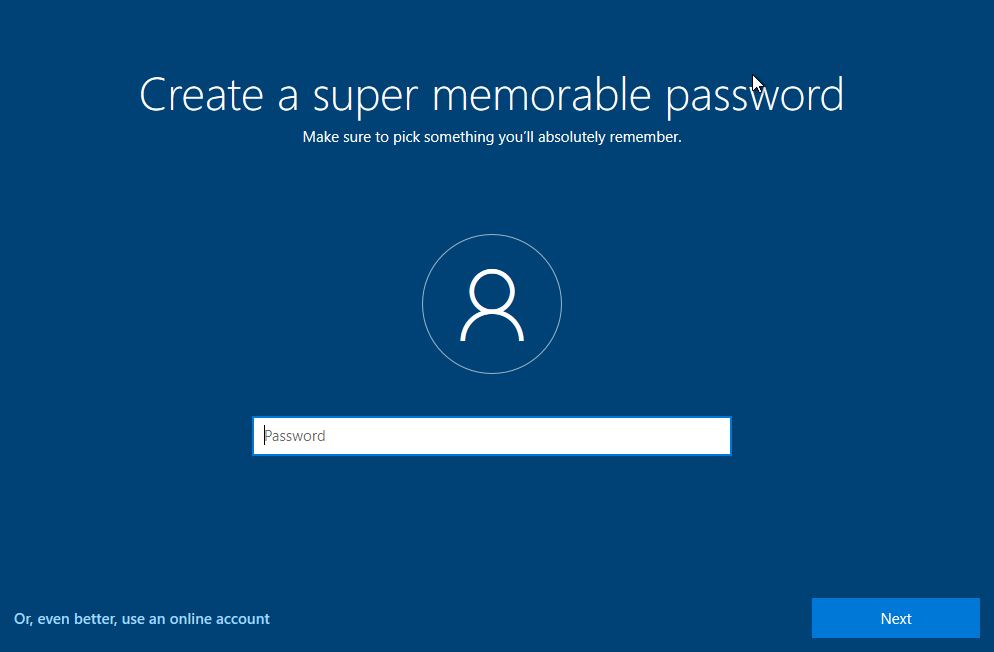
Figure 29 - Enter a password twice to confirm.
Then you will be asked to enter 3 answers to security questions.
I like the John Hammond approach and set all 3 answers to “blah”. If you don’t know who John Hammond is, go checkout some of his videos on YouTube:
https://www.youtube.com/@_JohnHammond
It’s easy to remember and it isn’t super important as we won’t be using this as a primary system where we may need to reset our passwords.
See Figure 30.

Figure 30 - Set up your security questions.
Next you will be asked to configure your security and privacy settings.
By default everything is turned on.
I recommend you turn all of the options off.
See Figure 31.

Figure 31 - Change the privacy settings for your device (Turn everything off).
Next you can customize the settings of the Virtual Machine.
Here I just select “Skip.”
See Figure 32.
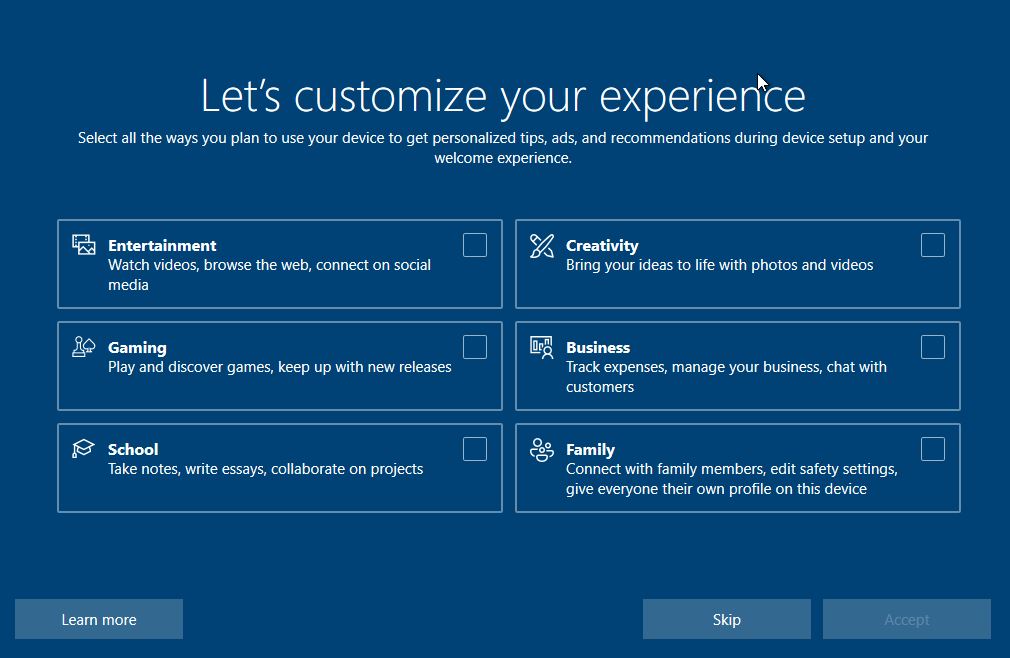
Figure 32 - Customize your experience, I selected “Skip.”
The windows installer wants us to setup and configure “Cortana” but I recommend you choose “Not now.”
See Figure 33.
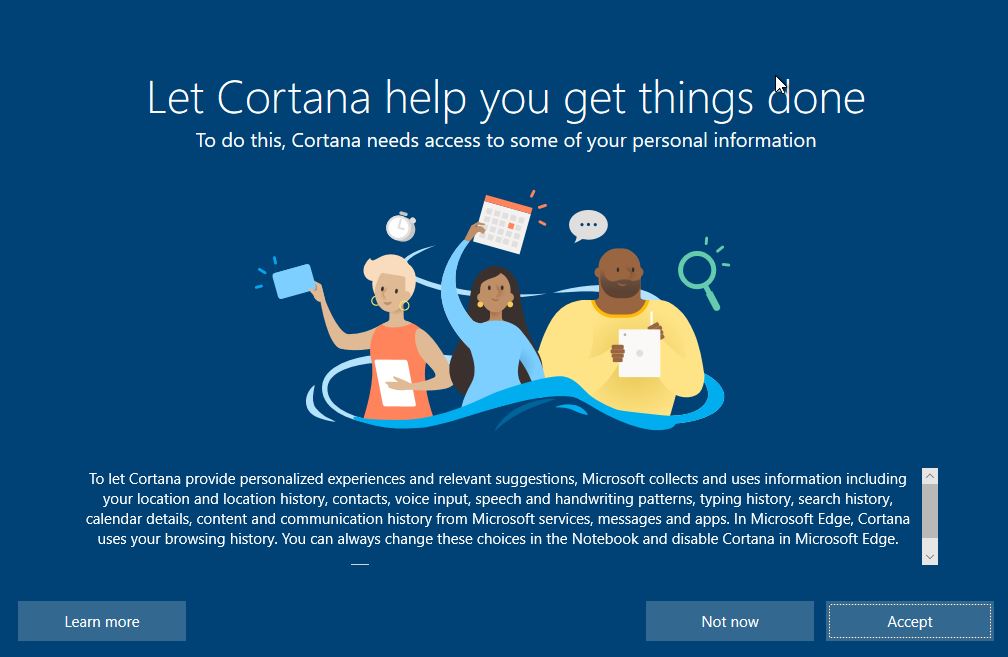
Figure 33 - Setup Cortana, I recommend choosing “Not now.”
The setup process will continue and it might reboot your Virtual Machine again.
See Figure 34 & 35.

Figure 34
Figure 35
Congratulations, we have completed the basic Windows 10 Pro installation.
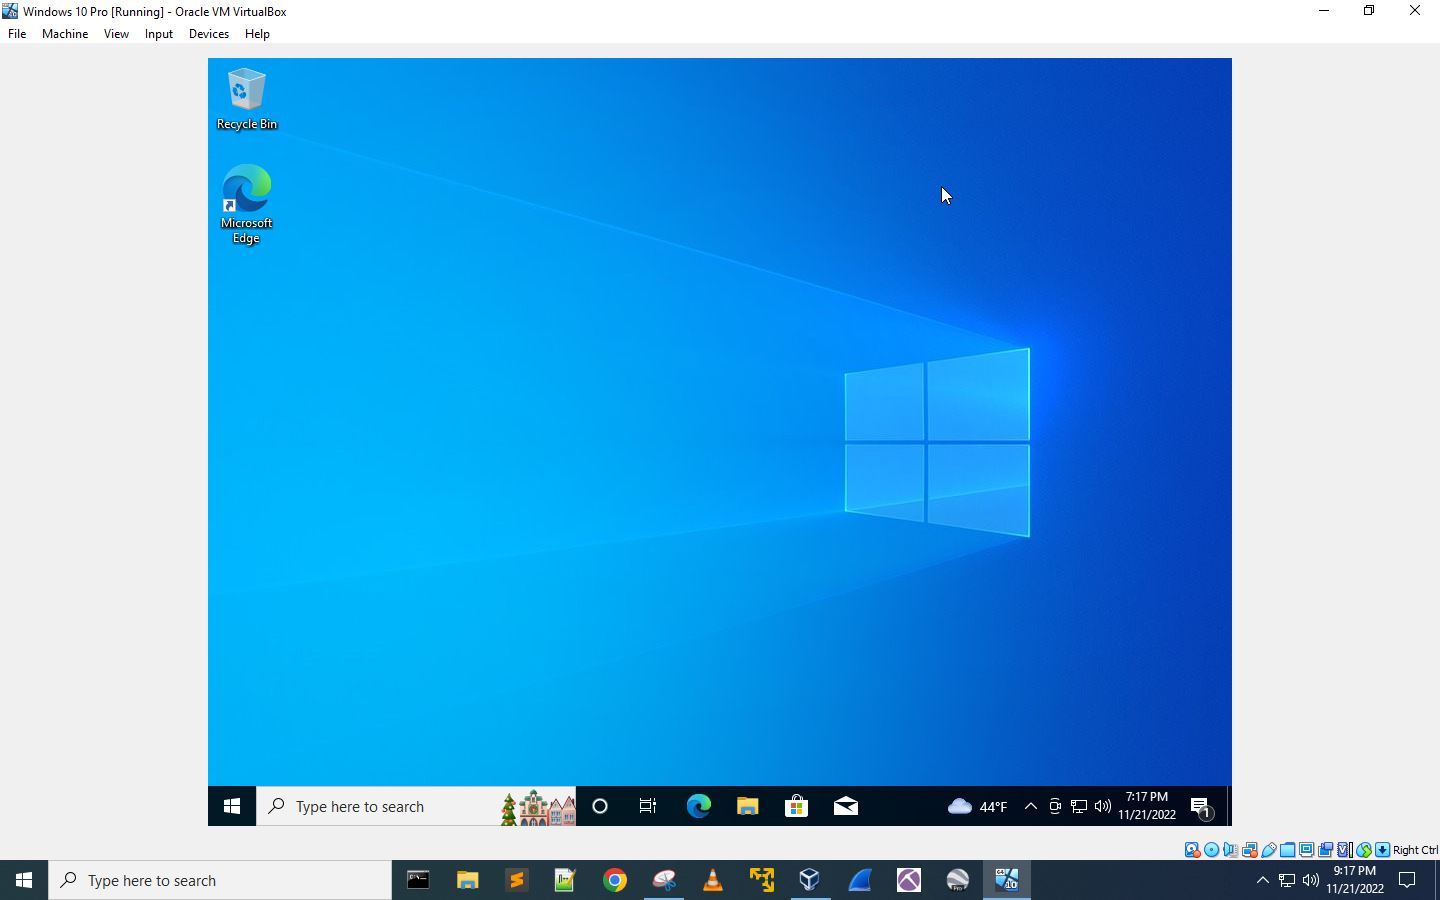
Figure 36 - Windows install complete.
But, we aren’t done just yet...
You will notice the cursor is lagging around inside of the VM.
We will fix this by installing the VirtualBox Guest Addition tools.
Click on the “Devices” menu option in the top left of your screen.
Select the “Insert Guest Additions CD Image”
See Figure 37.
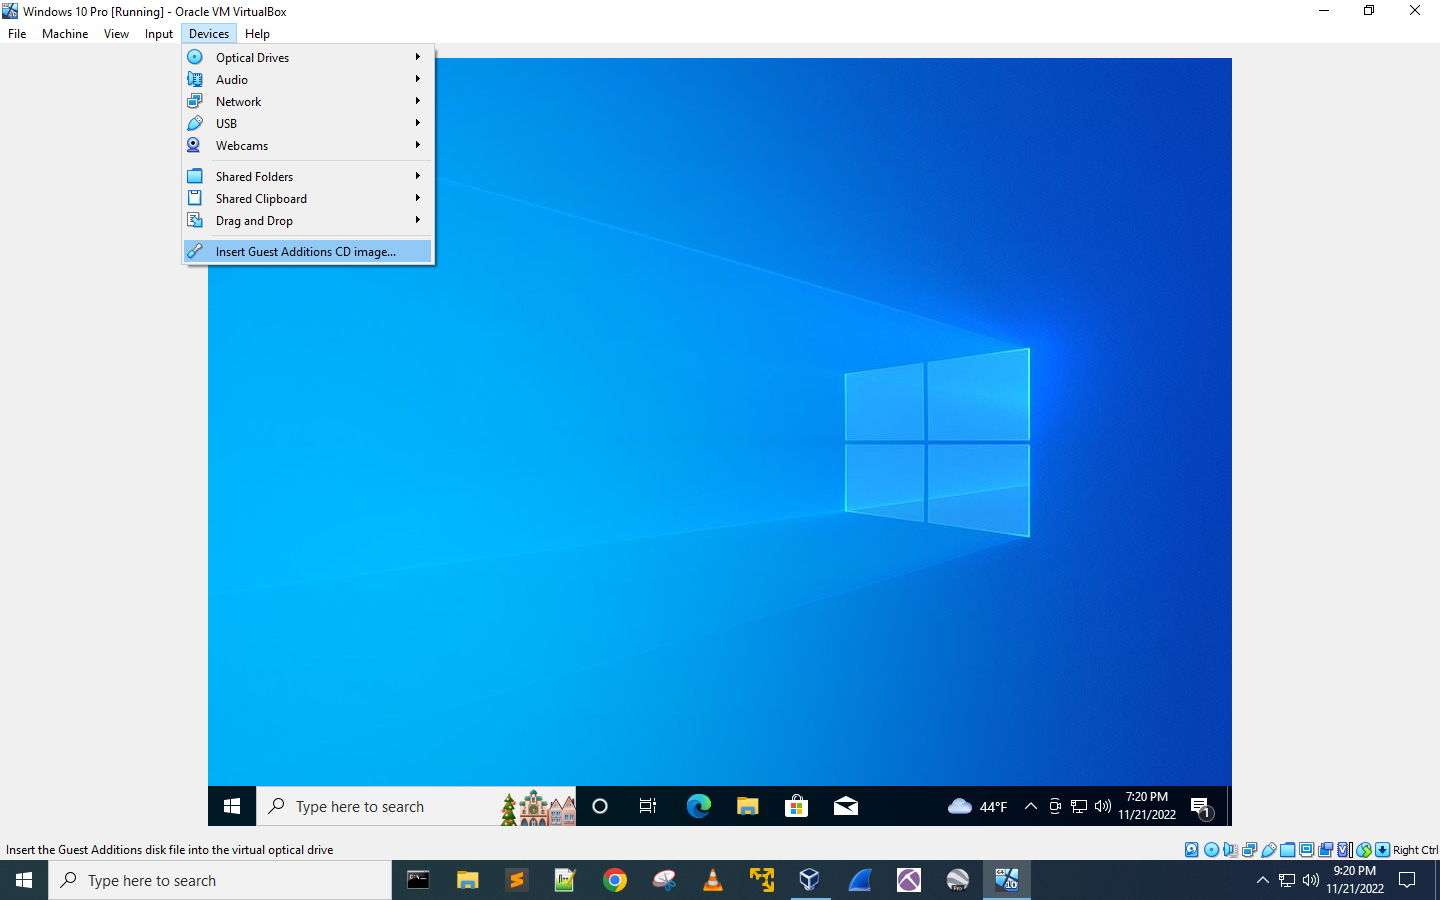
Figure 37 - Install Guest Additions CD image.
Your Windows Virtual Machine should detect the “CD” being connected to the VM.
If not, open “File Explorer” and navigate to “This PC”.
Click on the “CD Drive D:\VirtualBox Guest Additions“.
See Figure 38.
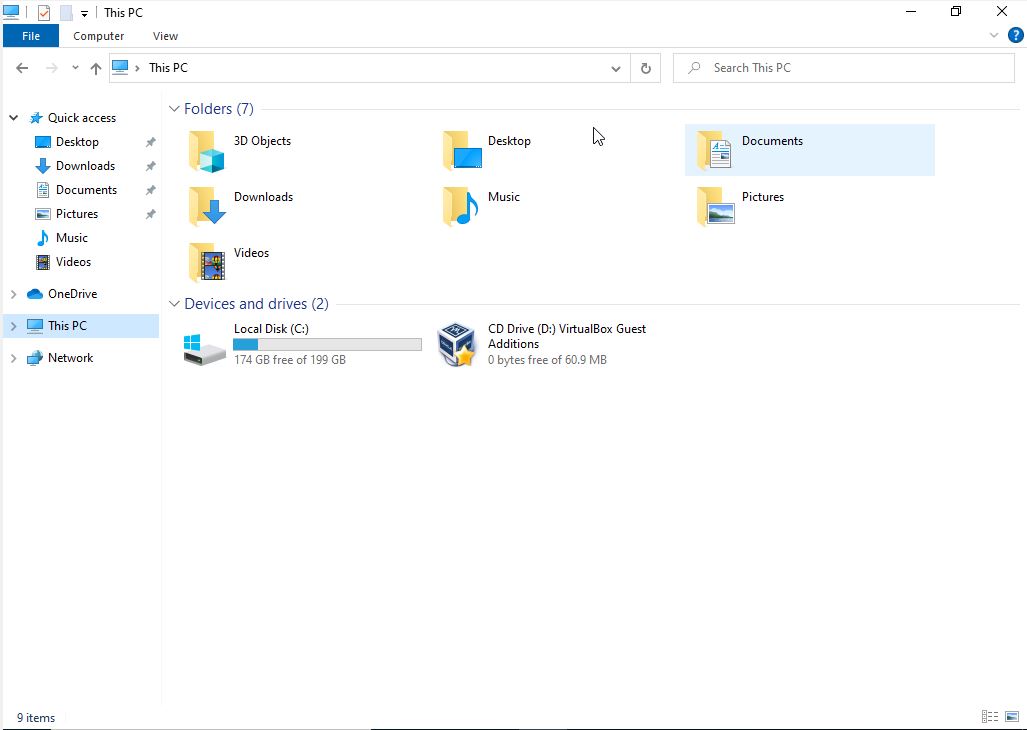
Figure 38 - Install VirtualBox Guest Additions tools.
Double click on the file VBoxWindowsAdditions-amd64 to install the 64-bit tools.
See Figure 39.
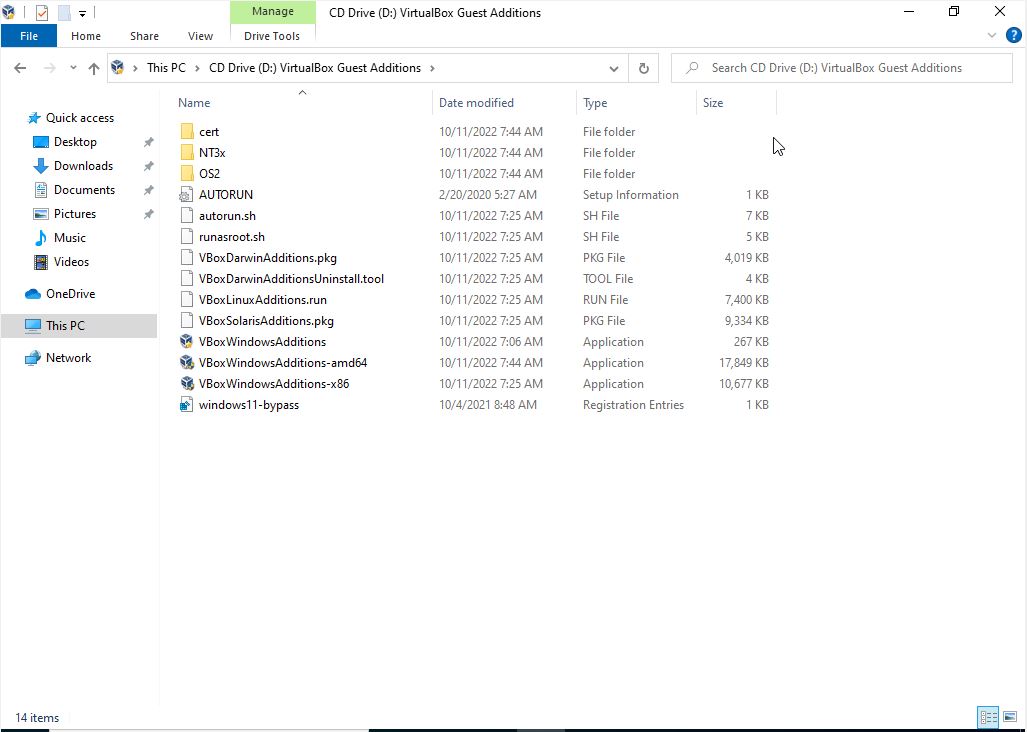
Figure 39 - Install the VBoxWindowsAdditions-amd64.
The installation process of the VBoxWindowsAdditions-amd64 process will start.
A new install window will appear.
Click “Next” to continue.
See Figure 40.
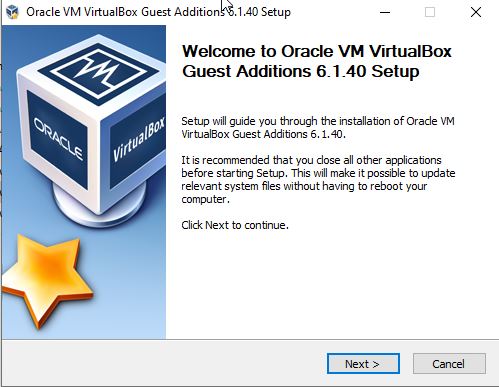
Figure 40 - Guest Additions Install.
Leave everything default and select “Next”.
See Figure 41.
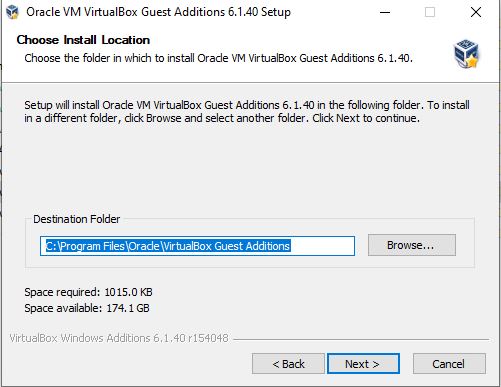
Figure 41 - Choose install location.
Leave everything default here and select, “Install”.
See Figure 42.
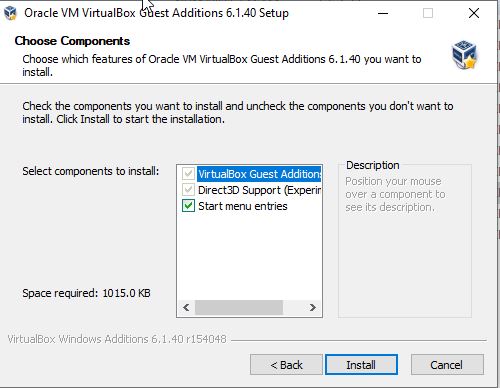
Figure 42 - VirtualBox Guest Installation components.
Once all of the components of the VirtualBox Guest Additions have installed you will be prompted to reboot the Virtual Machine.
Select “Reboot now” and press “Finish”.
The VM will reboot.
See Figure 43.
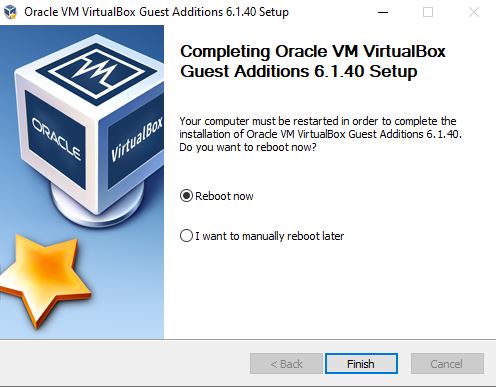
Figure 43 - Reboot the VM after the Guest Additions finishes installing.
Once the VM has rebooted, you will need to sign in to your account using the local username: FORENSICS and the password you set.
Click on the Windows start button and select the “Settings” from the menu.
See Figure 44.
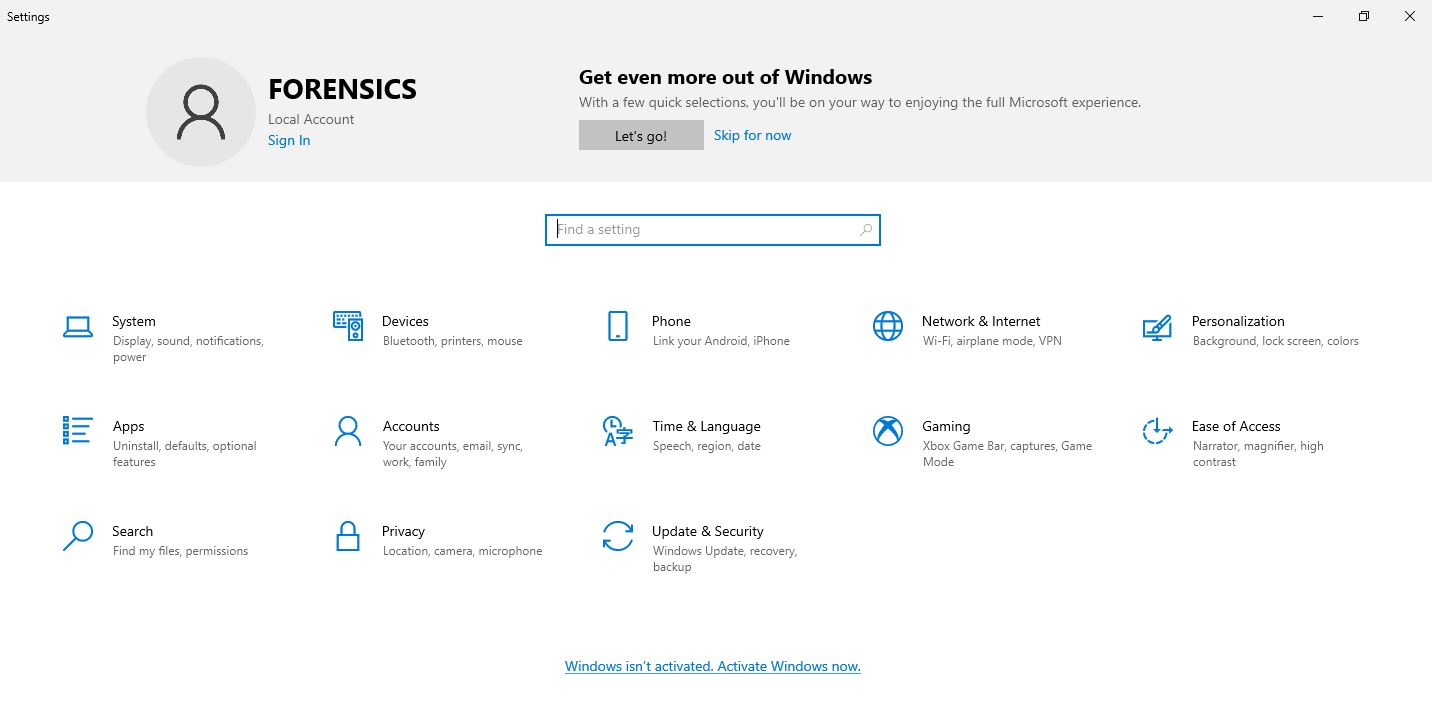
Figure 44 - Settings Window.
Select the option for “Update & Security”.
Check for and install ALL Windows Updates.
This process can take a while depending on your Internet speeds.
See Figure 45.
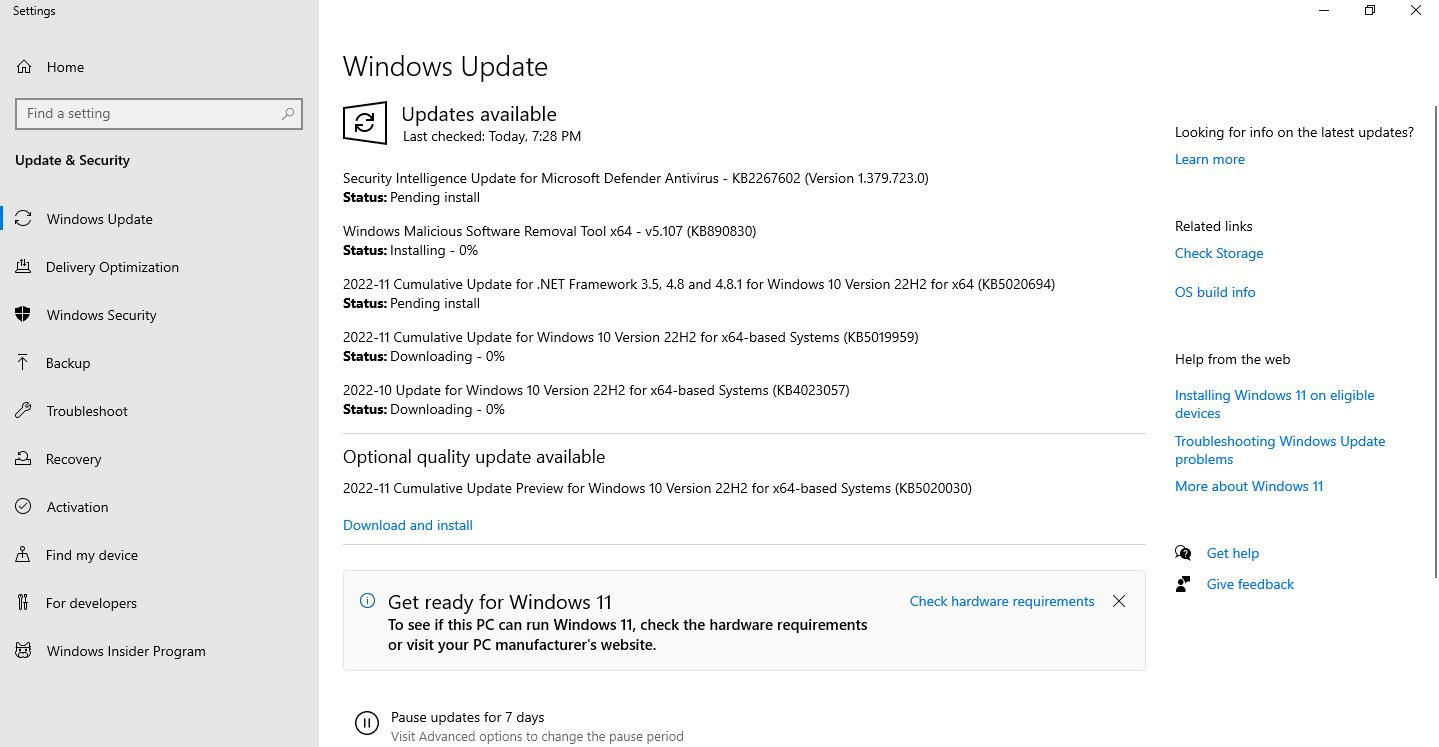
Figure 45 - Installing Windows Updates.
Before rebooting your VM after installing the updates let’s Rename the PC to something unique.
Under the Settings Menu, scroll to the bottom of the left menu, and select the “About” option.
Click on the button labeled “Rename this PC”.
A new window will open and rename the PC to “FORENSICS” and click “Next.”
See Figure 46.
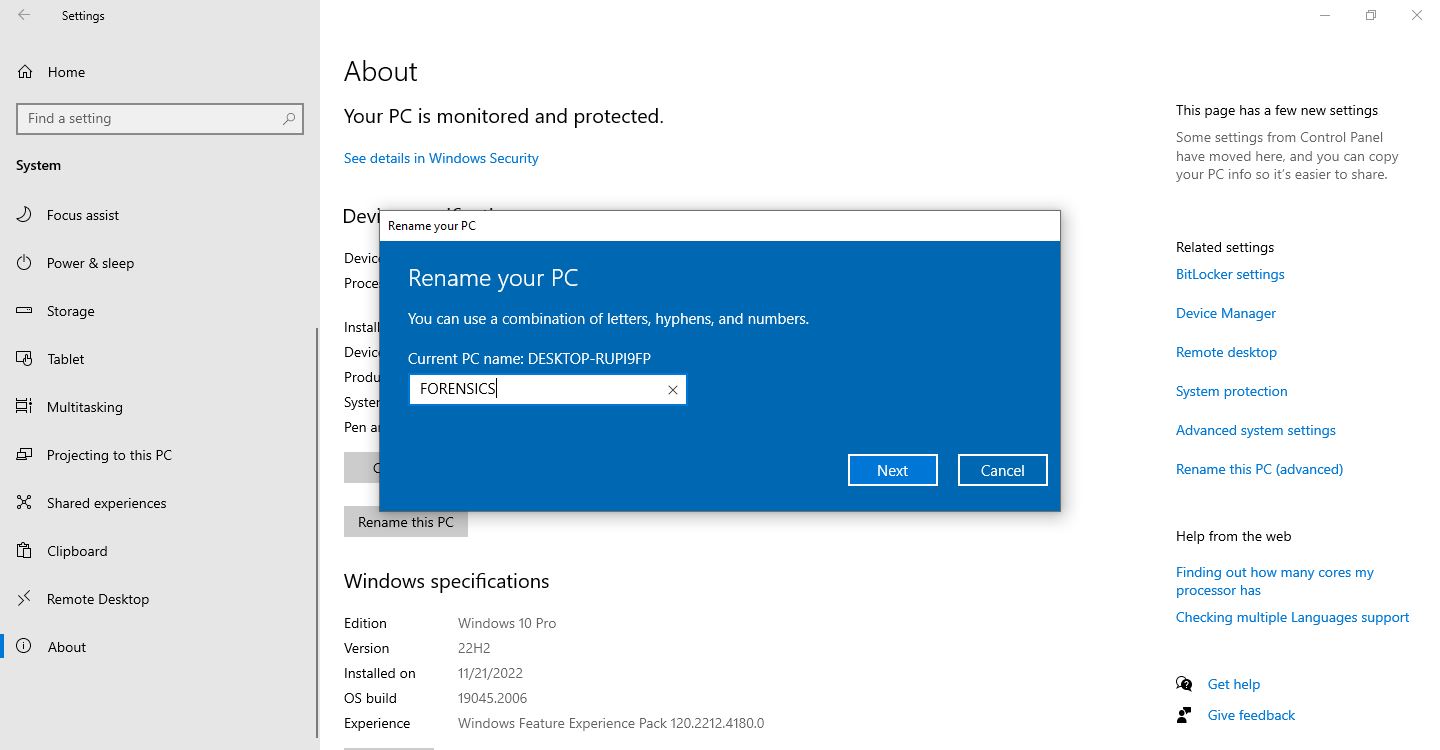
Figure 46 - Rename your PC to “FORENSICS”.
In the left menu bar search for “Date & Time” to change the system date and time settings.
In the window that appears Make sure the “Set time automatically” is turned off.
Turn off the “Set time zone automatically”.
Under the “Time Zone” select “(UTC) Coordinated Universal Time” from the drop down menu.
Go ahead and get used to only using UTC with all of your forensic examinations and start off on the right foot by setting your system clock to UTC.
See Figure 47.
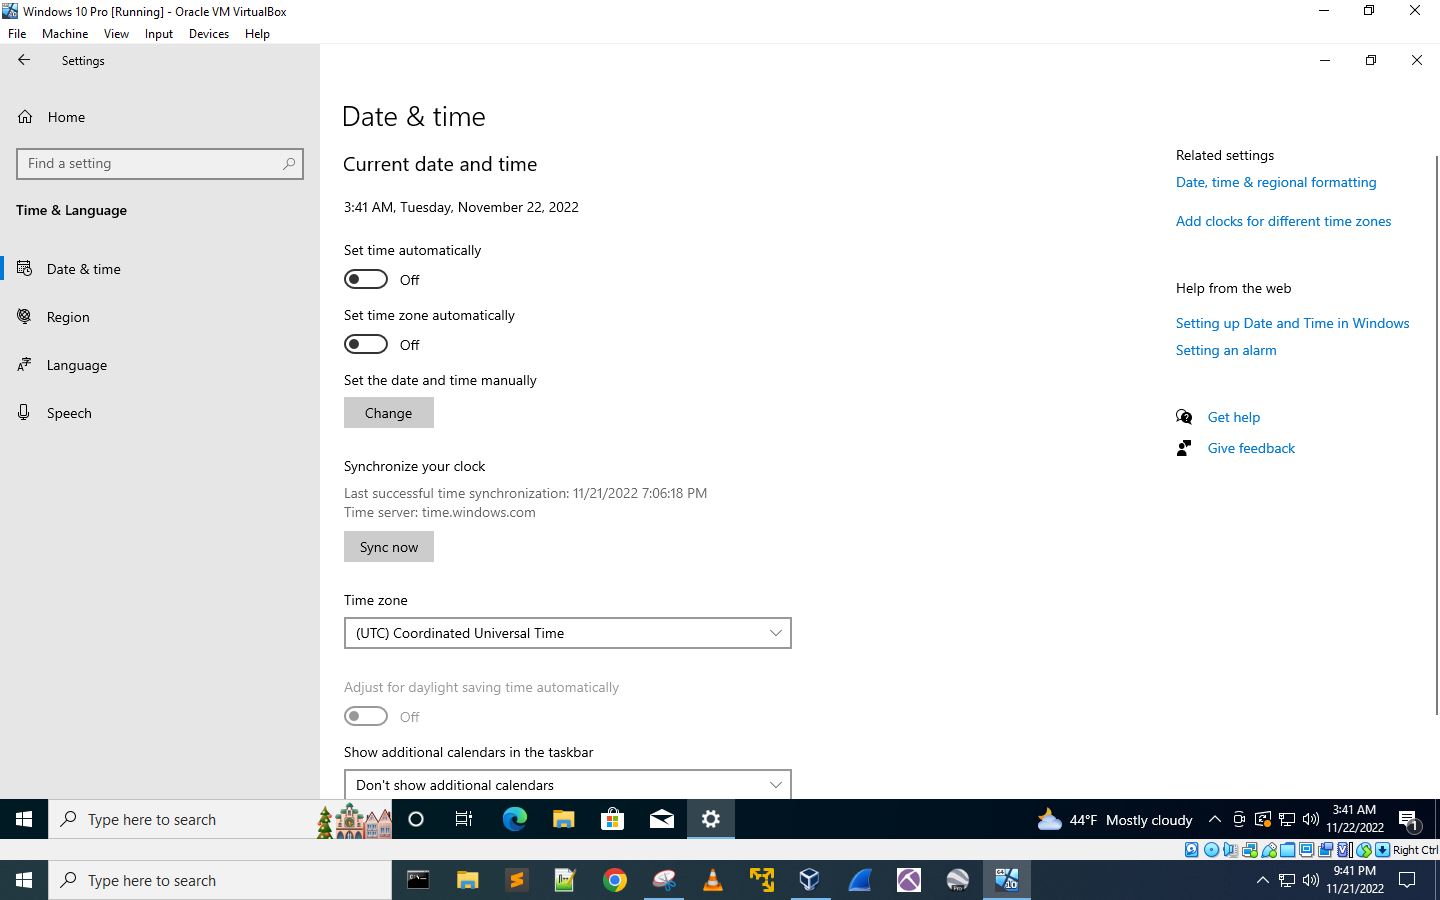
Figure 47 - Change the system “Date & time” settings.
Once all updates have finished downloading and installing you will need to reboot your PC for all of these changes to take effect.
Close all of the open windows.
Click on the Windows start button and select the power button.
Choose Restart this computer.
See Figure 48.
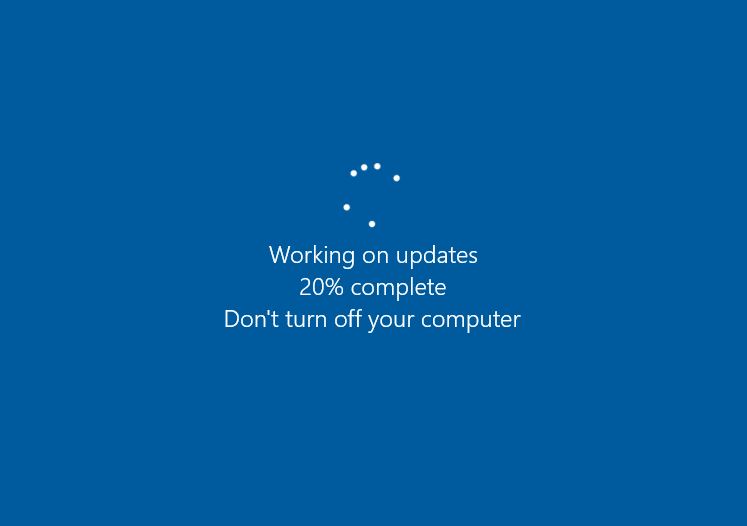
Figure 48 - Reboot and finish installing the Windows updates.
After the VM has rebooted, log back in using the local account and make sure everything is working.
Now, let’s turn off the VM and update the VirtualBox settings.
First, add a note in the description block and document our username and password for the VM.
Select the VM and click on “Settings”.
Under the “General” menu, select the “Description” tab and type in your username and password. This way if you forget your username and password it is documented.
Click “Ok” when finished to save the settings.
See Figure 49.
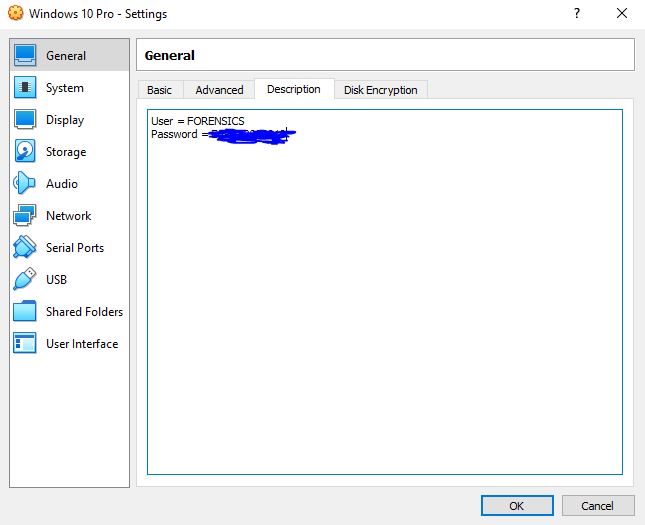
Figure 49 - Document the VM’s username and password in the “Description” tab.
Back in the VirtualBox main window, click on the icon to the right of the Windows 10 Pro VM name (3 bullet points icon).
Select “Snapshots” from the drop down menu.
See Figure 50.
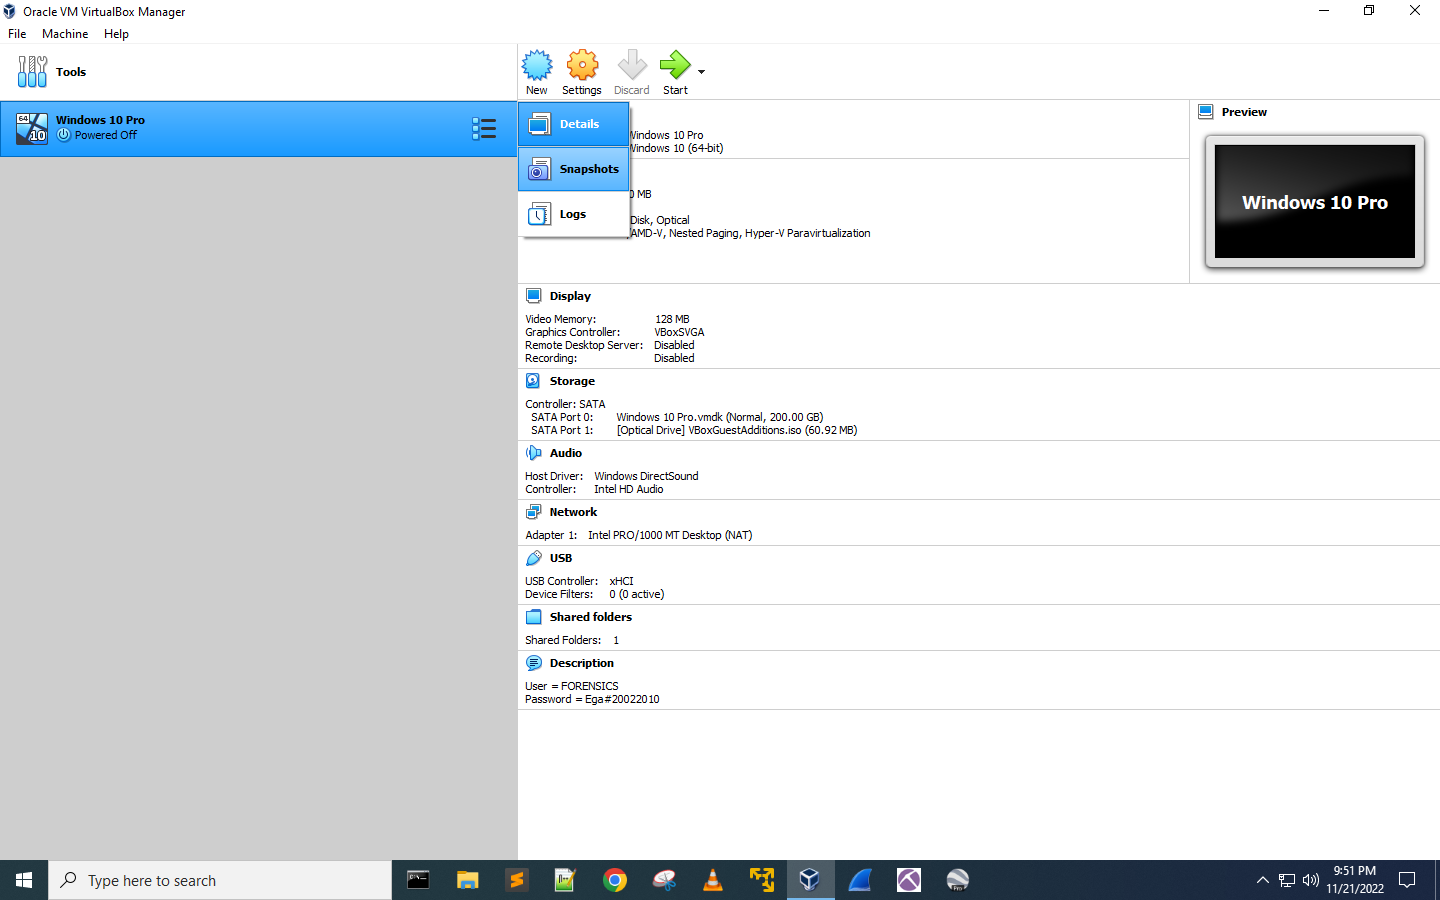
Figure 50 - Select “Snapshots” from the VM menu.
In the Snapshot window that opens up give the Snapshot a name and brief description.
I used “Snapshot 1” and “Base Install of Windows 10 Pro.”
Select “Ok”.
See Figure 51.

Figure 51 - Give your Snapshot a name and brief description.
Congratulations! You now have a complete base Windows 10 Pro VM installed.
As a matter of good practice I also recommend copying this VM to another location for safekeeping. You never know when you might have to rollback your VM or start over.
You can also use this “Base” Windows 10 Pro install to create additional VM’s setup for other cyber-security related tasks like Open Source Intelligence (OSINT), Penetration Testing or "hacking", or a VM to use for testing and validating your forensic findings. etc.
In the next blog post we will go through and set up some of the "must have" forensic tools such as AccessData FTK Imager, Autopsy, Eric Zimmerman’s Tools, DCode, CyberChef, QPhotoRec, and HxD Hex Editor.
No comments:
Post a Comment