First, right click on the “Mail” icon and select “Unpin from taskbar”.
Do the same process for the “Microsoft store”.
Then right click anywhere on the taskbar, select the “Search” option, and deselect “Show search highlights”.
Right click again anywhere on the taskbar, and deselect the “Show Task View button” and “Show Cortana button”.
Finally, right click anywhere on the taskbar and under the “News and interests” menu, click on “Turn off.”
Next, let's go into the system settings and add a couple of exemptions to Microsoft Defender. The reason for this is when downloading some forensic tools there are often a lot of "false positive" alerts that result in files being quarantined. (I do not recommend making these changes on your daily computer this is just for convenience while setting up our forensic workstation.)
Click on the Windows start button and select "Settings."
Click on "Update & Security."
Click on "Windows Security" and select "Open Windows Security."
Click on "Virus & Threat Protection." Scroll down the page and look for "Exclusions."
Click on "Add or Remove Exclusions."
A "User Account Control" window will open, select "Yes."
Click on the "Add Exclusion" button and select "Folder" from the drop down menu.
Navigate to the "Desktop" folder in the file explorer window and click "Select Folder."
Click on the "Add Exclusion" button and select "Folder" from the drop down menu.
Navigate to the "Downloads" folder in the file explorer window and click "Select Folder."
FTK Imager:
The first digital forensic tool that every forensic examiner should have installed and be very familiar with is AccessData’s Forensic Tool Kit Imager (a.k.a. “FTK Imager”). The tool is a free tool available to download from here:
https://accessdata.com/product-download/ftk-imager-version-4-7-1
All you need to do is fill out the contact form and download the installer.
See Figure 1.

Figure 1 - AccessData FTK Imager Download page.
Once FTK Imager has finished downloading, go to your Downloads directory to find the installer.

Figure 2 - FTK Imager Installer file located in the Downloads directory.
Double-click on the FTK Installer file to start the installation process. This will cause the Windows “User Account Control” window to open and select, “Yes” to start the installation.

Figure 3 - AccessData FTK Installation - Select Yes from the User Account Control dialog window.
The Installation wizard window will now open. Select “Next” to begin the installation process.
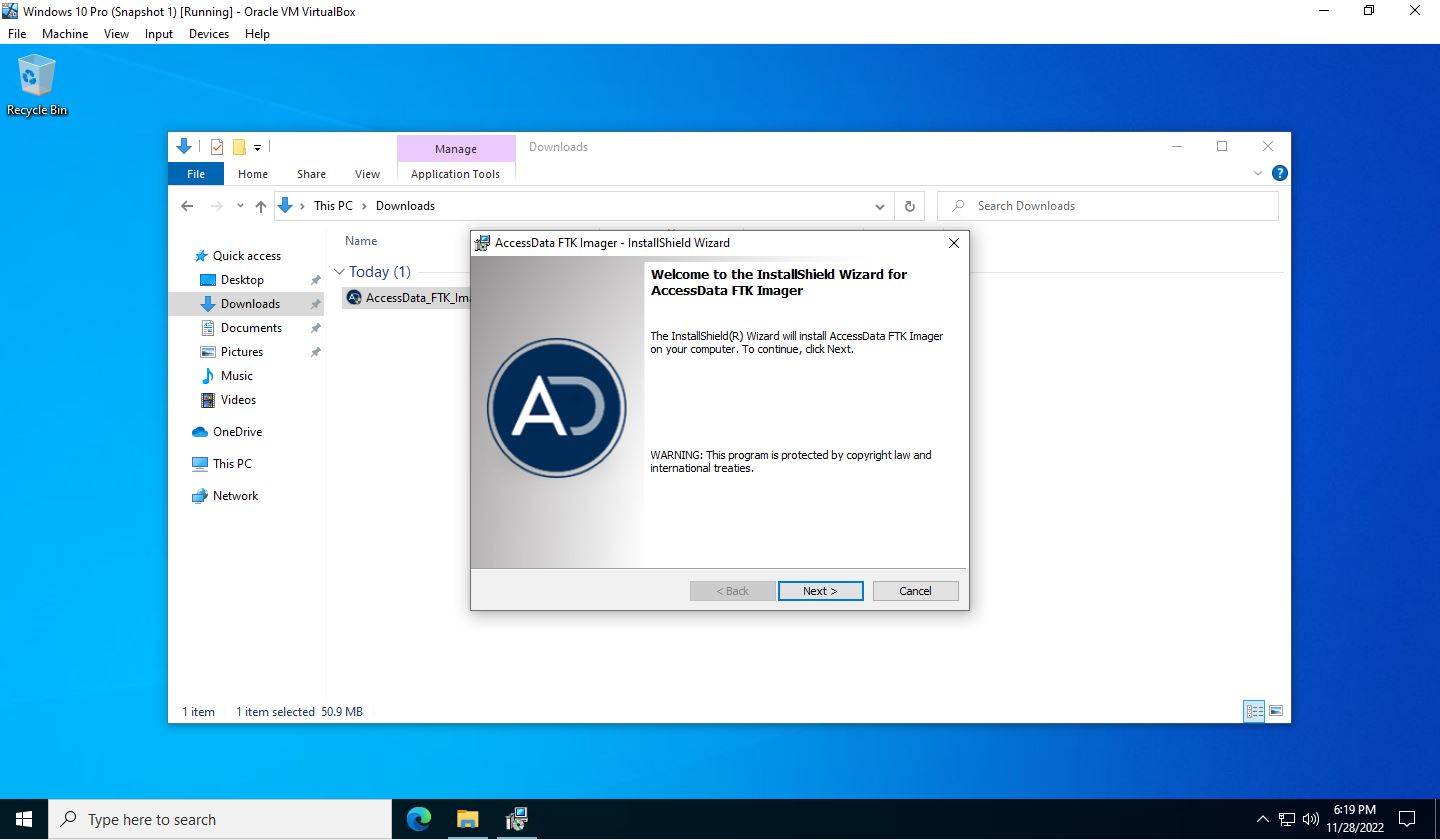
Figure 4 - AccessData FTK Imager installation wizard.
Accept the “End-User License Agreement”, then select “Next.”
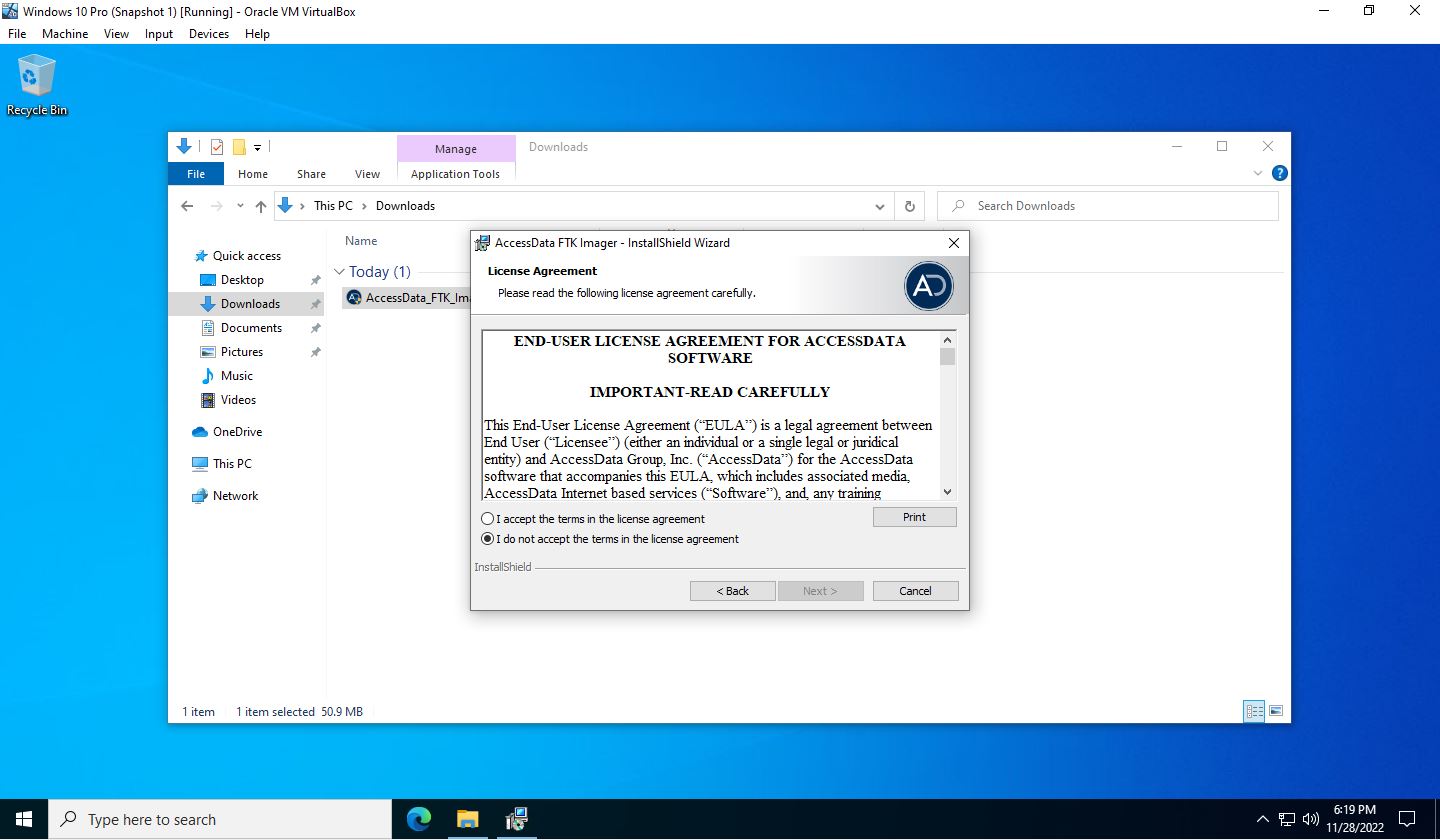
Figure 5 - FTK Imager End-User License Agreement.
Leave the installation directory at the default location and select “Next”.

Figure 6 - FTK Imager default installation directory.
Click, “Install” to install FTK Imager.

Figure 7 - Install FTK Imager
Once the installation process has finished, you will be presented with a window telling you the installation process was successful. Click on “Finish” to complete the installation process and open FTK Imager.
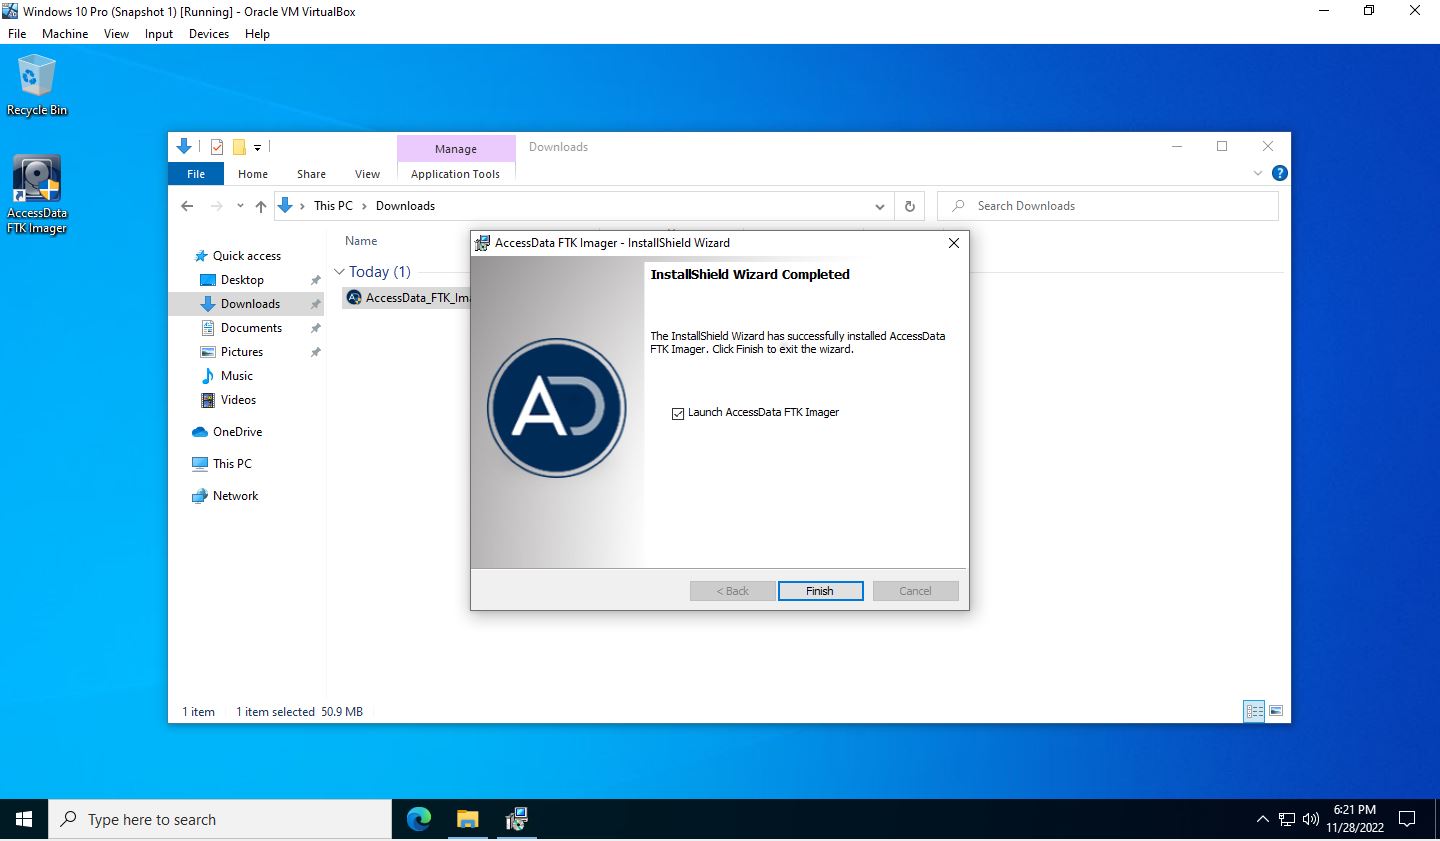
Figure 8 - FTK Imager successfully installed.
Close FTK Imager, reopen the Downloads directory, and delete the installer file.
Autopsy:
Next we will download and install “Autopsy”. Autopsy is a free and open source forensic platform developed by Brian Carrier at Basis Technology. Autopsy is the graphical interface for the suite of tools known as “The Sleuth Kit” and a bunch of other tools from the DFIR community. A complete blog post and tutorial on Autopsy is coming soon on this blog, so stay tuned and subscribe to this blog so you don’t miss it. The tool can be downloaded from their website at:
https://www.autopsy.com/download
While you are at it, go follow Brian Carrier on Twitter (@carrier4n6) for updates and posts about DFIR information that he shares with the community.
See Figure 9.
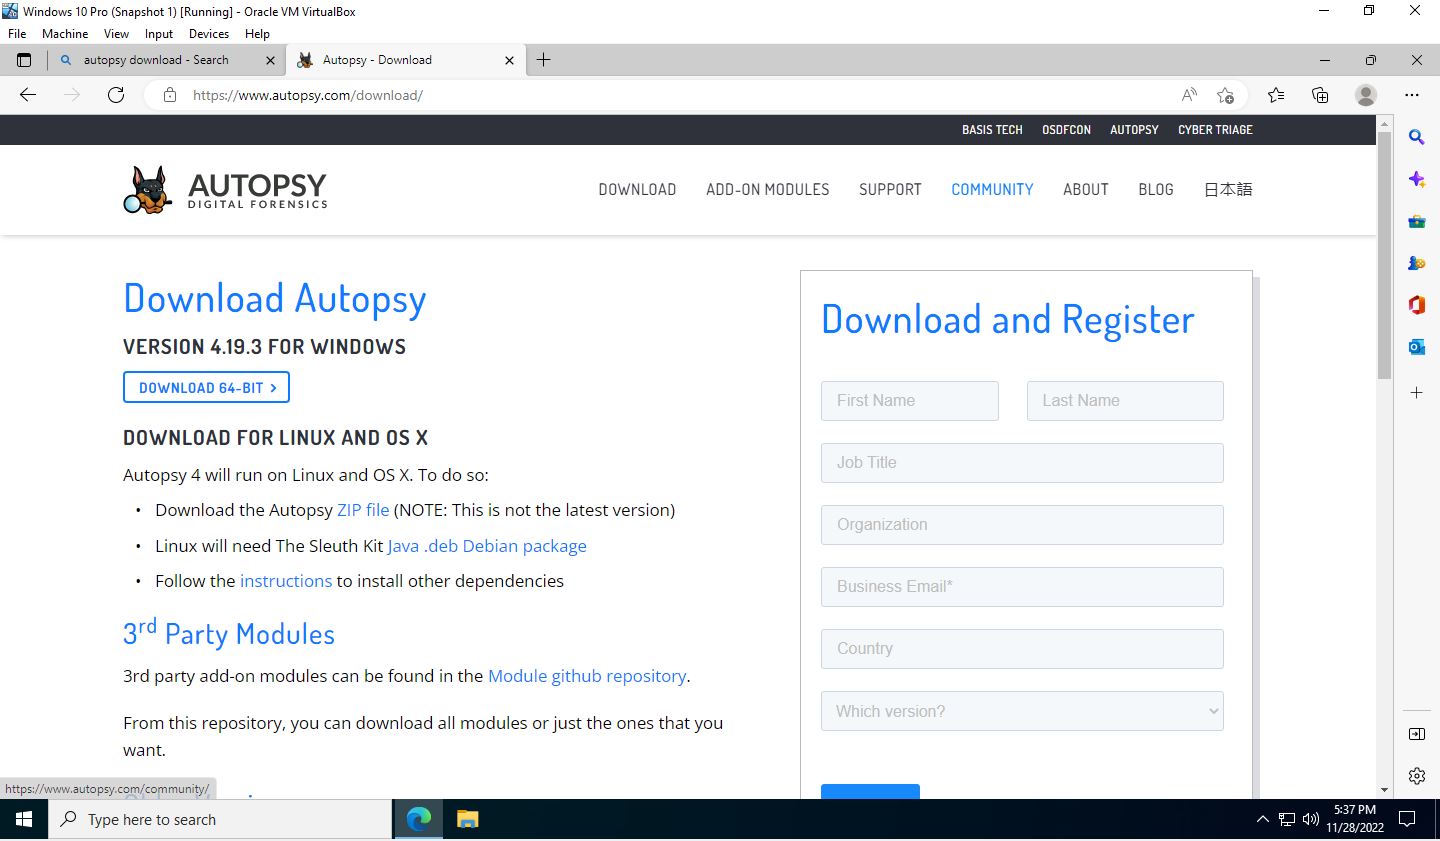
Figure 9 - Download Autopsy
Once Autopsy has finished downloading, go to your Downloads directory to find the installer.
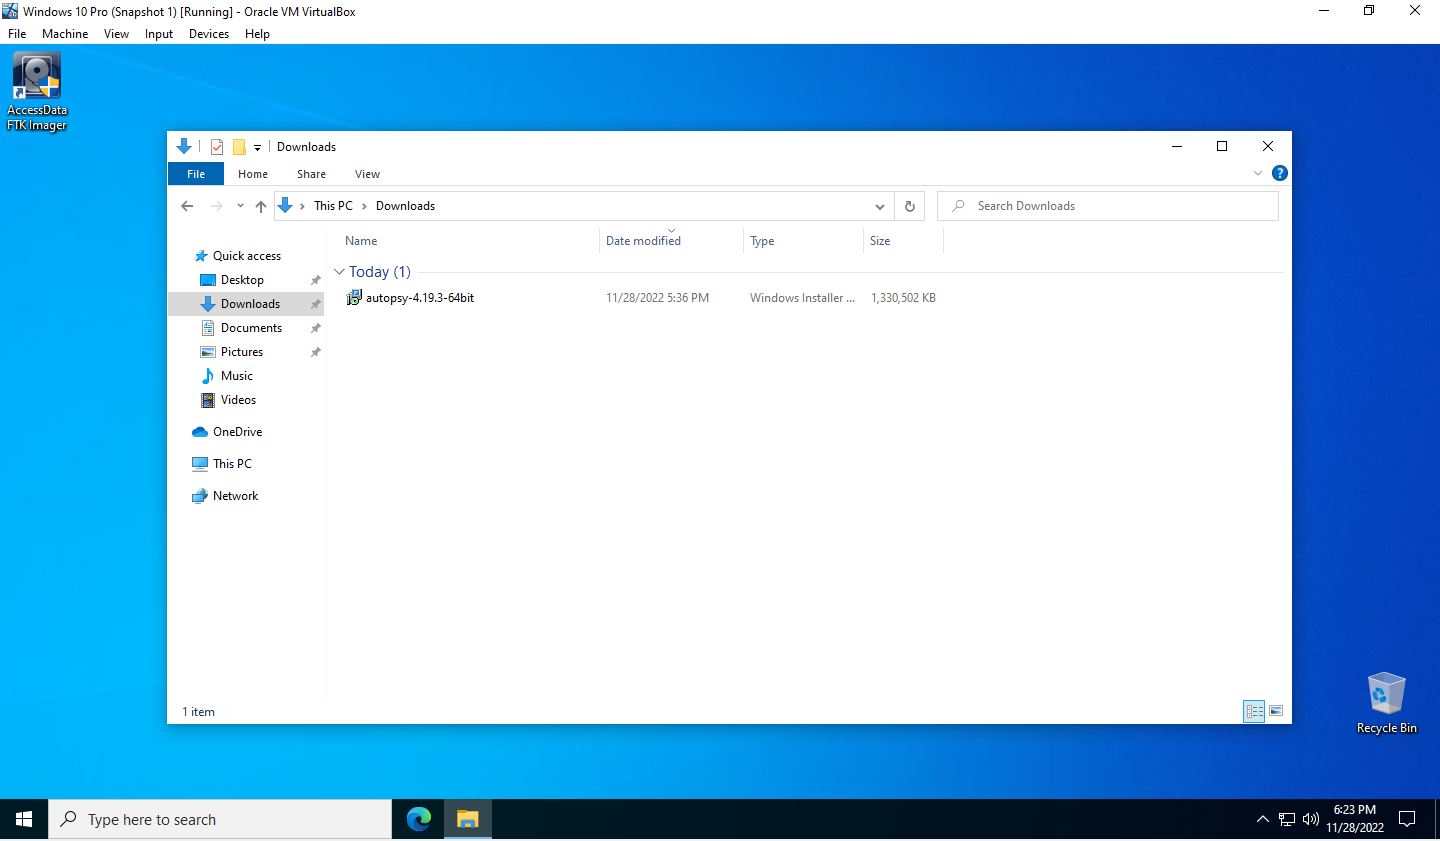
Figure 10 - Autopsy installer in Downloads directory.
Double click on the Autopsy installer file.
Microsoft Defender will alert on the file and warn against running an unrecognized application. (It is safe to run this program!)

Figure 11 - Windows Defender alert.
Click on “More info”
Click on “Run anyway”
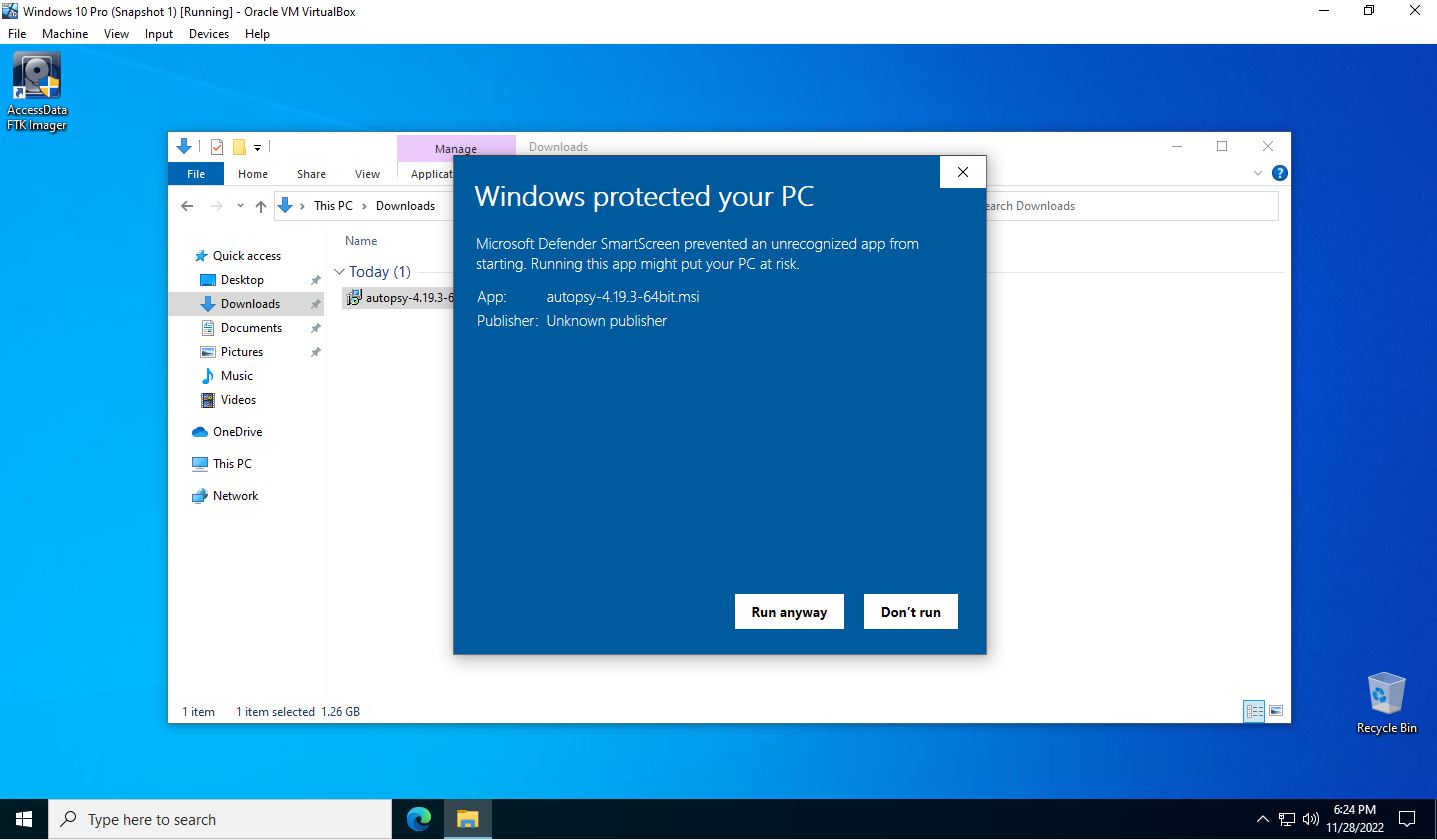
Figure 12 - Allow Autopsy installer to run by selecting Run anyway.
A new Installer Wizard window will open.
Select “Next” to continue with the installation.
See Figure 13.
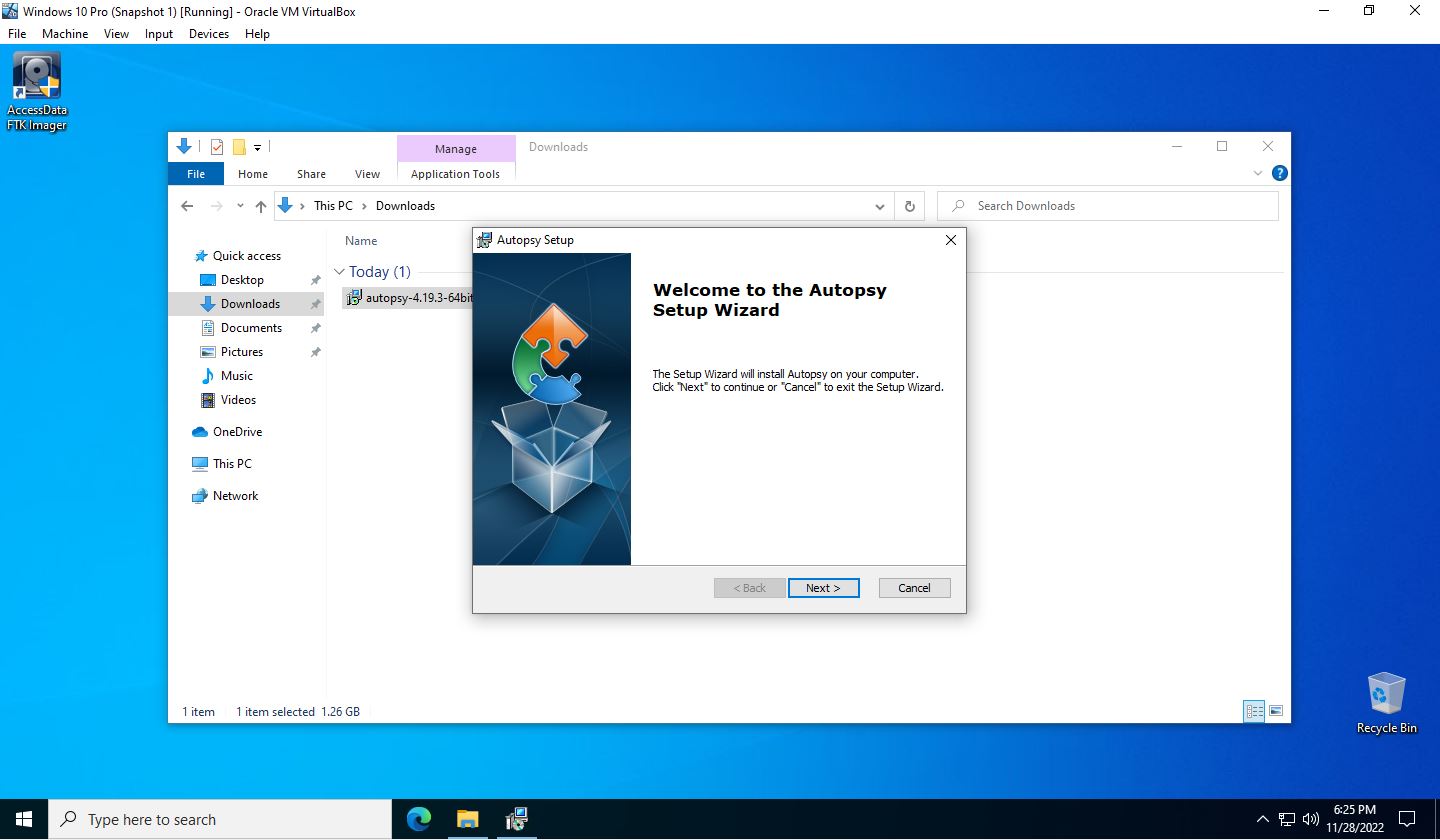
Figure 13 - Autopsy installer wizard window.
On the next window, leave the installation directory location as the default location.
Select “Next.”
See Figure 14.
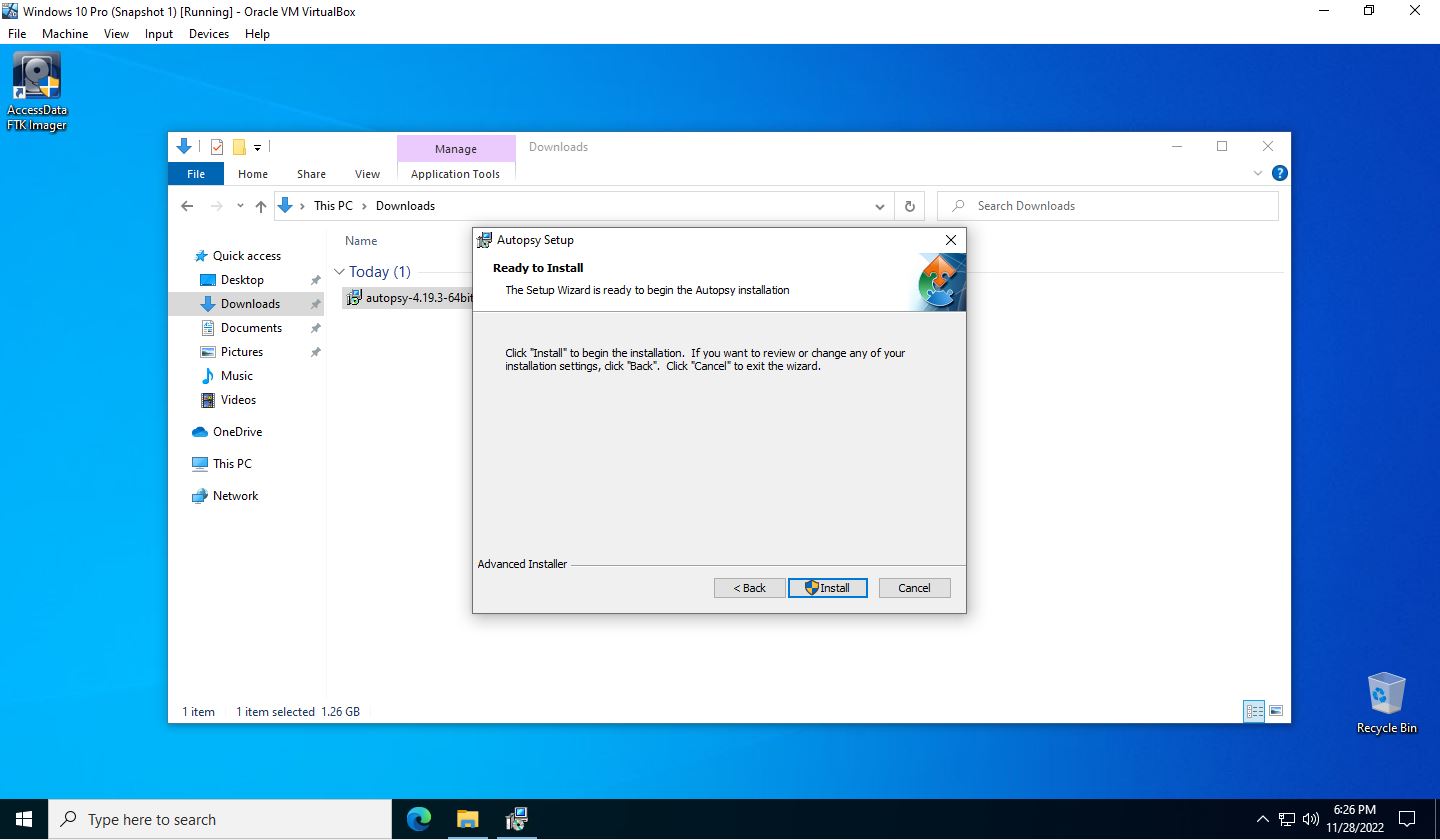
Figure 14 - Autopsy Installation window.
Wait while the installation process completes.
See Figure 15.

Figure 15 - Installing Autopsy progress window.
A Windows User Account Control window will appear. Select “Yes” to allow the installation process to continue.
See Figure 16.

Figure 16 - User Account Control window - select “Yes” to continue install.
Wait while Autopsy is installed.
See Figure 17.
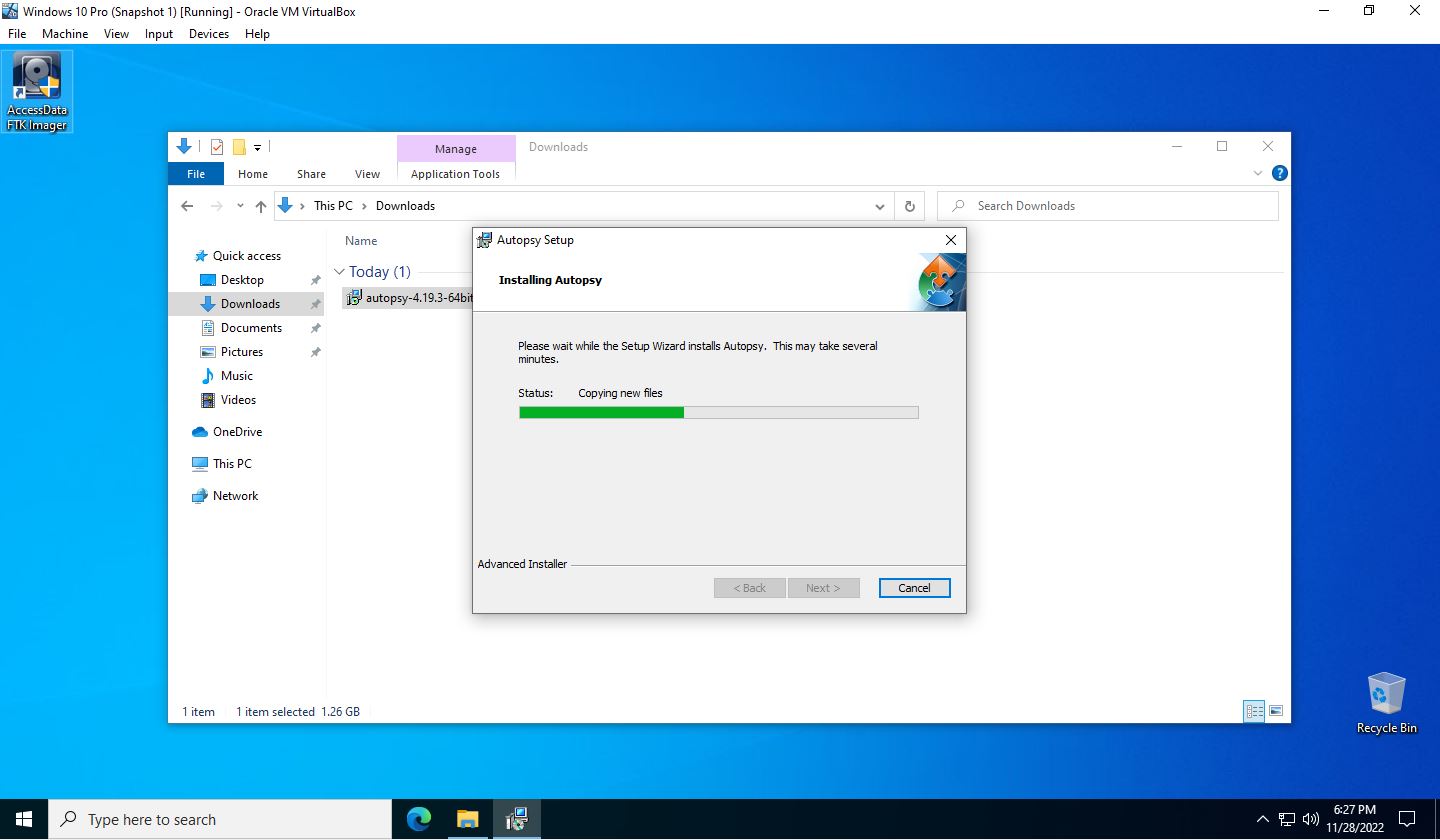
Figure 17 - Autopsy installation progress window.
Once the installation successfully completes, select “Finish” to exit the Setup wizard.

Figure 18 - Autopsy is now installed. Click “Finish”.
Reopen the Downloads directory and delete the Autopsy installation file.
CyberChef:
Next, we will install CyberChef to run locally on our forensic workstation. If you aren’t familiar with CyberChef it is the “Swiss Army Knife” of cyber tools that runs in your web browser. It “auto-magically” performs complex functions like encoding, decoding, encryption, decryption, compression, and decompression all inside your browser window. However, as a good practice we do not want to be running our forensic workstation while connected to the Internet. So, we will install CyberChef locally and configure it to run offline using our web browser. First, go to the GitHub repository, to download the files to our machine:
https://github.com/gchq/CyberChef/releases
See Figure 19.

Figure 19 - CyberChef GitHub repository.
Click on the “CyberChef_v9.54.0.zip” file to download the latest version.
Once the file is downloaded, open the Downloads directory to locate the zip file.

Figure 20 - CyberChef zip file downloaded.
Right click on the CyberChef zip file and select “Extract all”.
A new window will open and prompt for a location to extract the files to.
Leave the default location and select “Extract”.

Figure 21 - Extract the CyberChef zip folder.
When the file extraction completes you will have an uncompressed folder of CyberChef in your Downloads directory.
Select the uncompressed folder and press “Control + x” on the keyboard. This will cut the entire folder and its contents and put it on the clipboard.

Figure 22 - Move the uncompressed CyberChef folder to C:\Program Files\ directory.
Navigate to the C:\Program Files directory and press “Control +v” on the keyboard to paste the folder into the directory.
You will get a pop-up window requesting admin permissions to make changes to this directory.
Select “Continue” to authorize the changes.
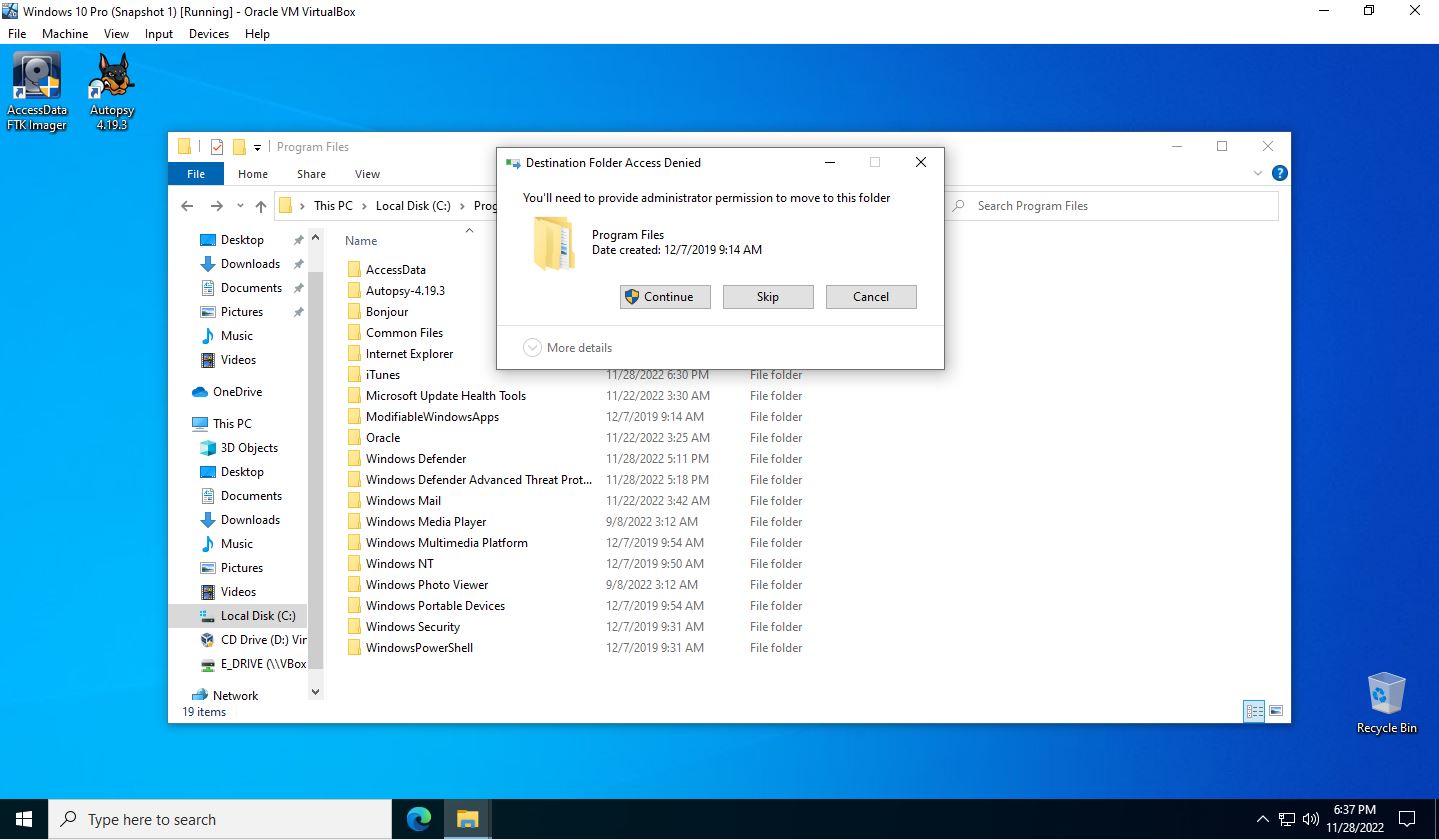
Figure 23 - Paste the CyberChef directory into the C:\Program Files directory.
Once the CyberChef folder finishes copying into the C:\Program Files directory, open the CyberChef folder.
Locate the CyberChef_v9.54.0.html file and right click on the file.
Select “Send to Desktop (create shortcut)”.
CyberChef is now installed and set up to run in your web browser without an internet connection. We will cover CyberChef more with a complete tutorial in an upcoming blog post.
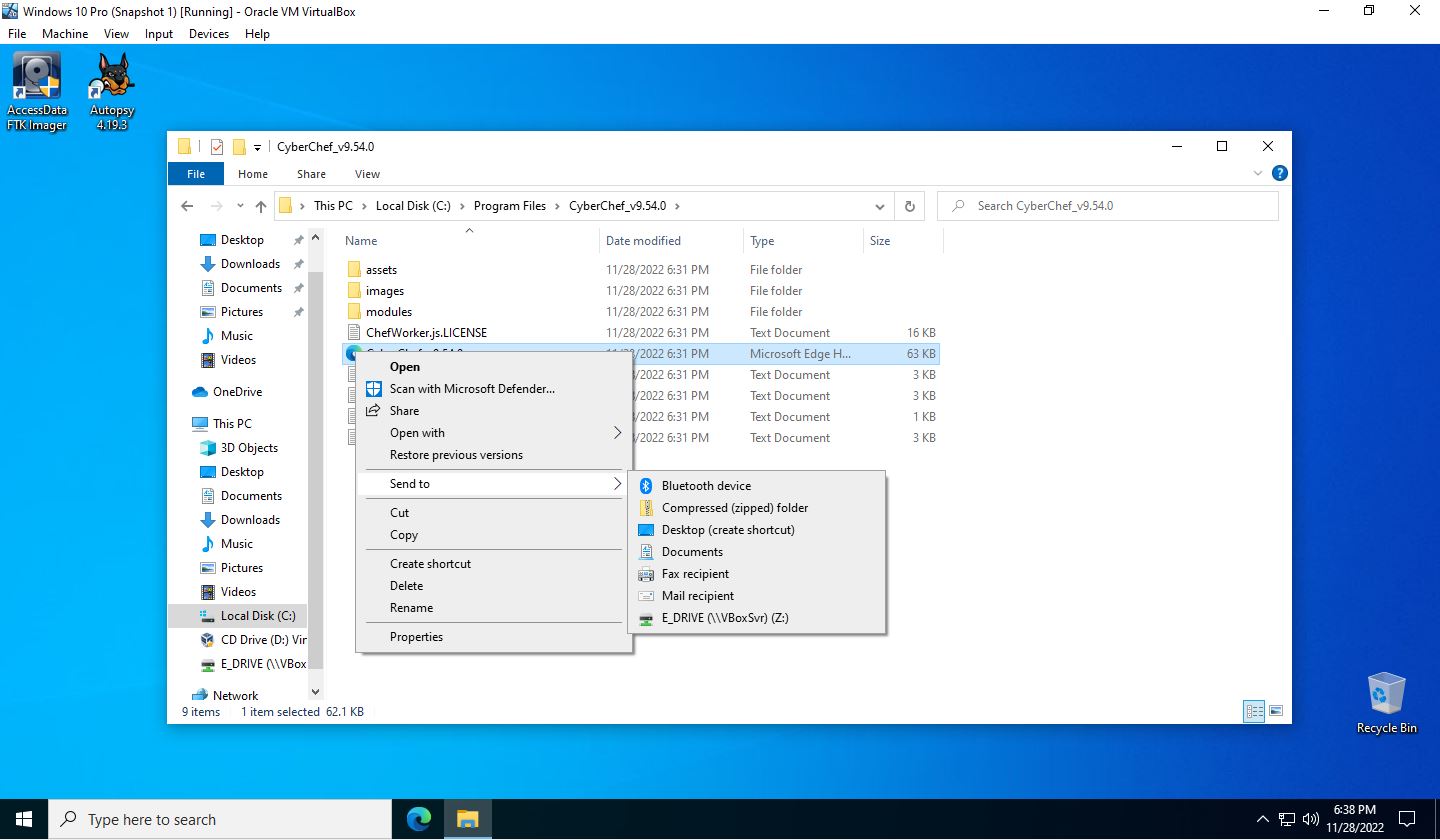
Figure 24 - Create a desktop shortcut for CyberChef.
DCode:
Another really useful forensic tool is “DCode” from Digital Detective. This tool will convert a bunch of different timestamp data formats into human readable timestamps. The tool can be downloaded from the Digital Detective website:
https://www.digital-detective.net/dcode/.
See Figure 25.
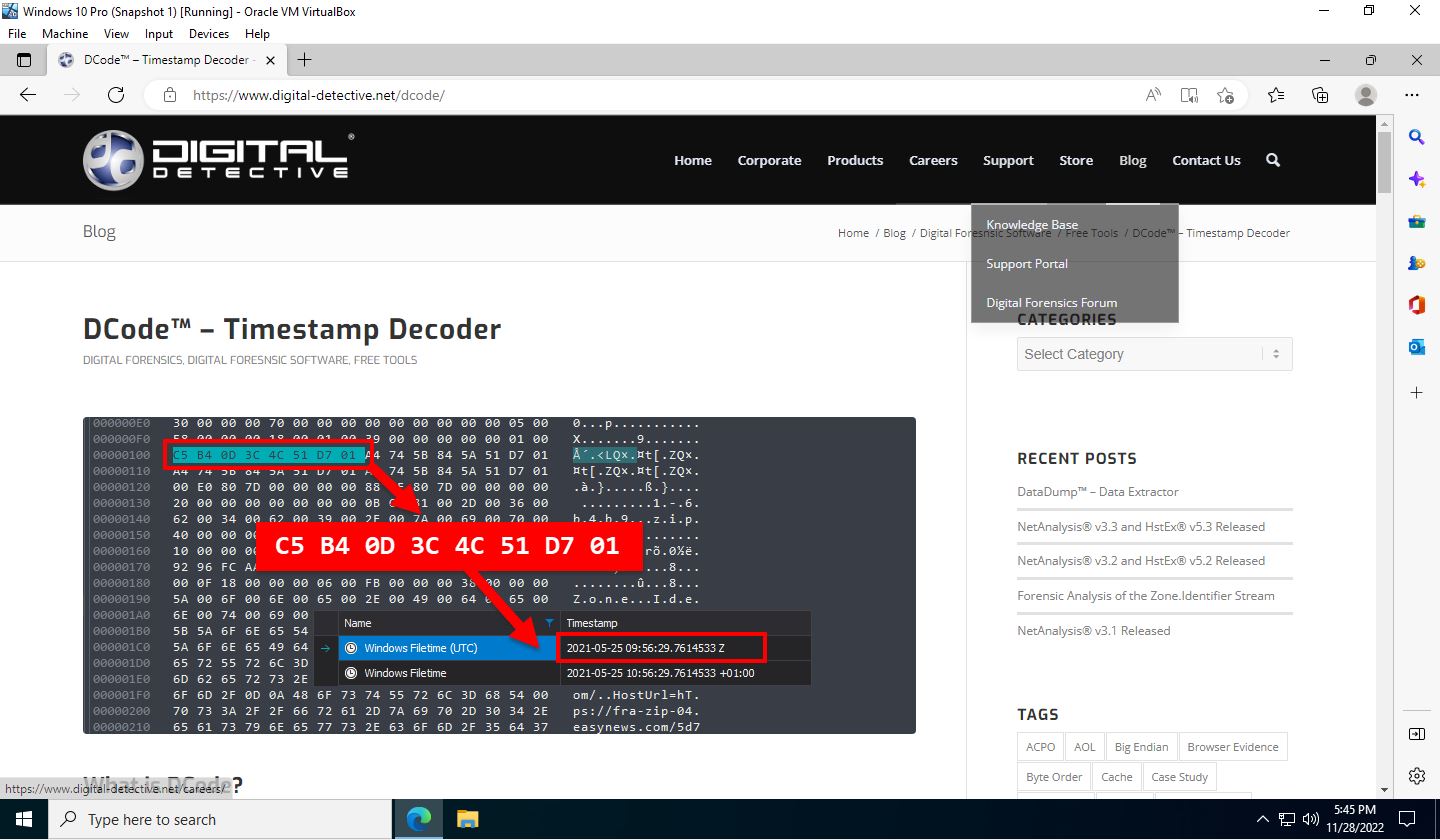
Figure 25 - DCode - Timestamp decoder from Digital Detective.
Download the free tool and wait for it to finish.
Once the download is finished, navigate to the Downloads directory.
Right click on the zipped folder and select “Extract all.”
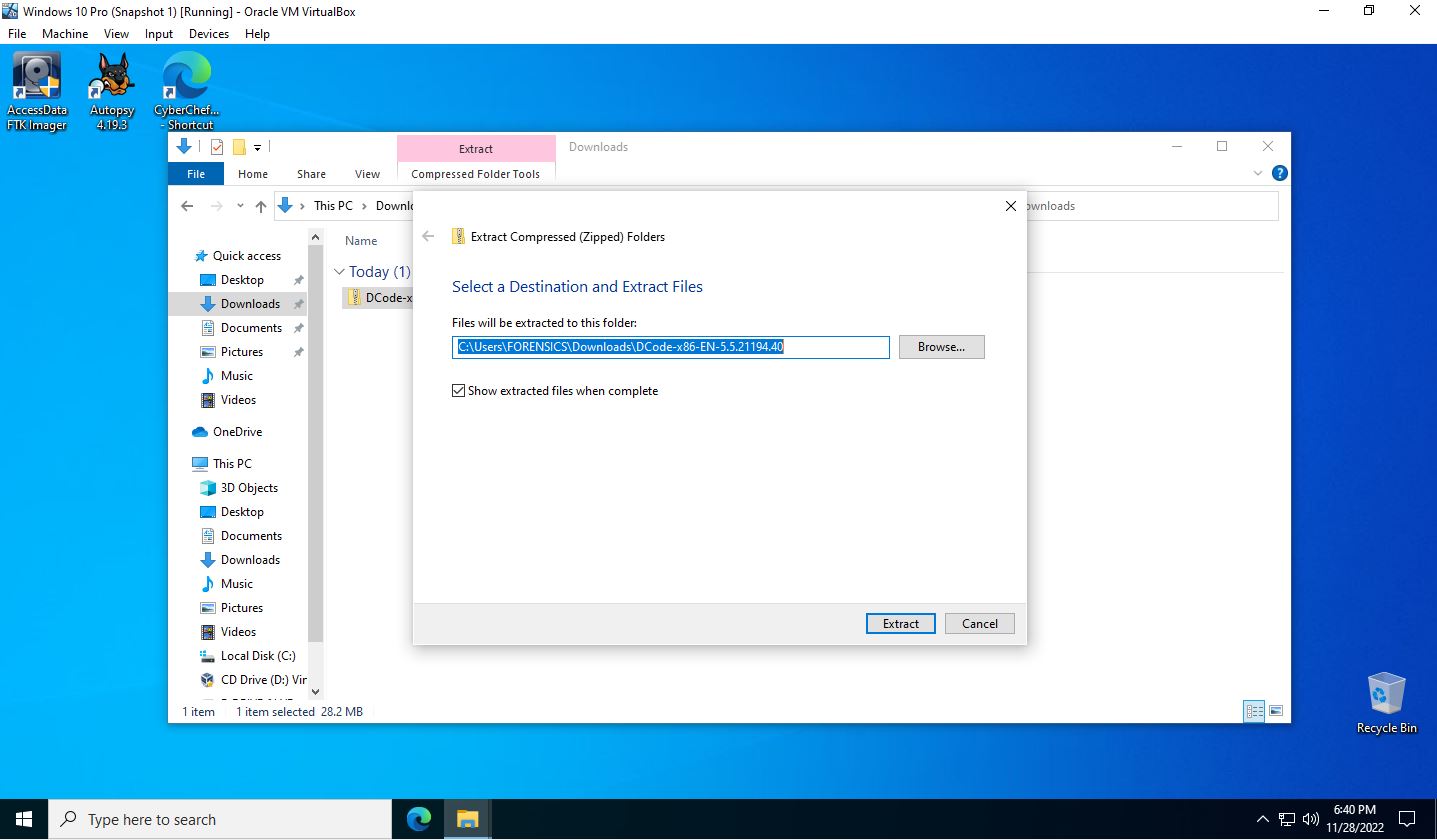
Figure 26 - “Extract all” from the DCode zipped folder.
Open the uncompressed folder and double-click on the installation file.
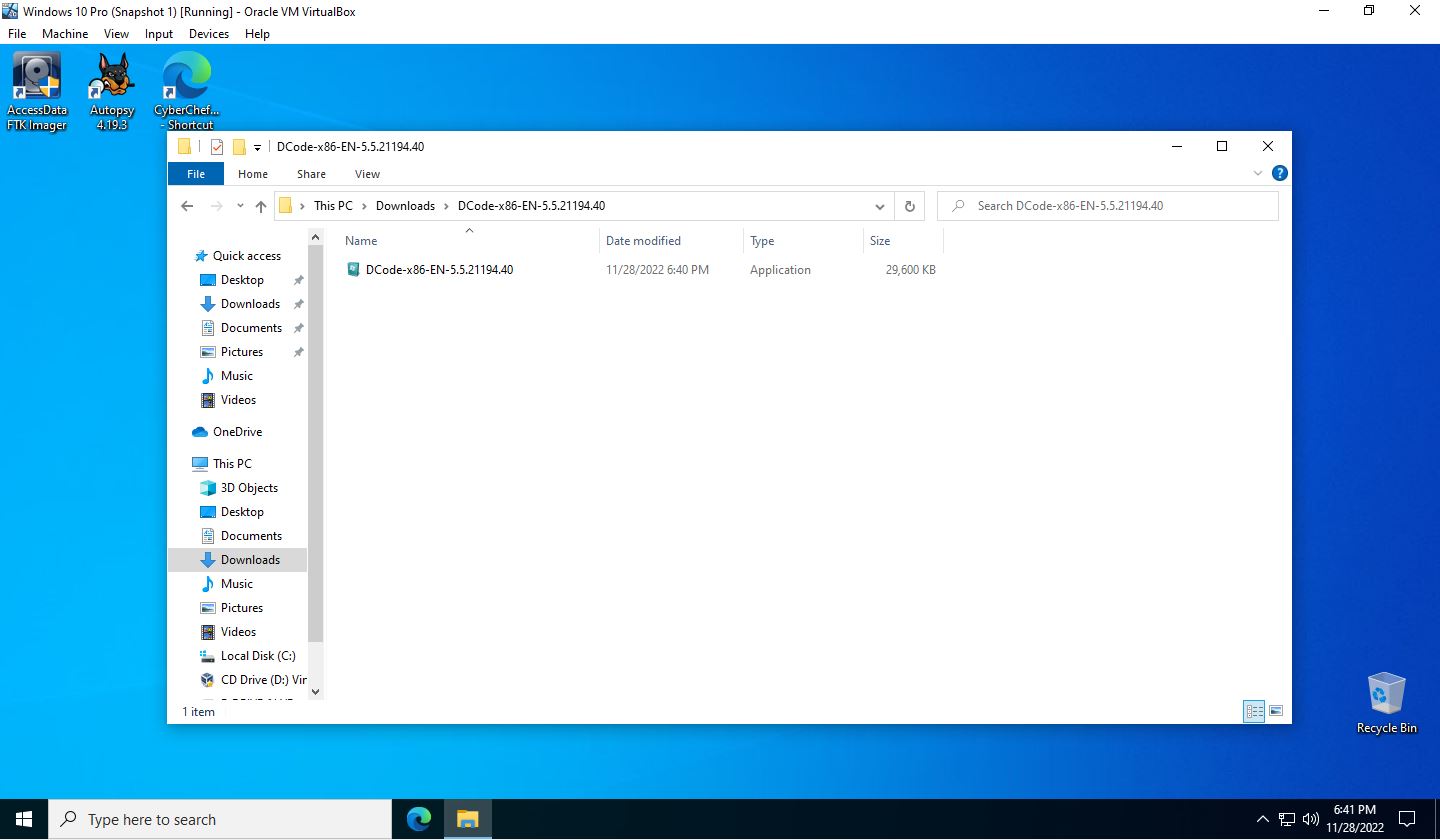
Figure 27 - DCode installation file, double-click on the file to start the installation process.
A “User Account Control” window will open and asks if you want to allow the application to make changes to your device.
Select “Yes.”
See Figure 28.

Figure 28 - User Account Control window, select “Yes” to install.
A Setup Wizard window will open. Select “Next” to start the installation.

Figure 29 - DCode setup wizard, select “Next” to continue.
Accept the license agreement and select “Next” to continue.

Figure 30 - DCode license agreement. Accept the agreement and select “Next” to continue.
Leave the installation path at the default settings and select “Next” to continue.

Figure 31 - Leave the default installation path to the default setting and select “Next”.
Leave the default Start Menu Folder settings set to default and select “Next”.
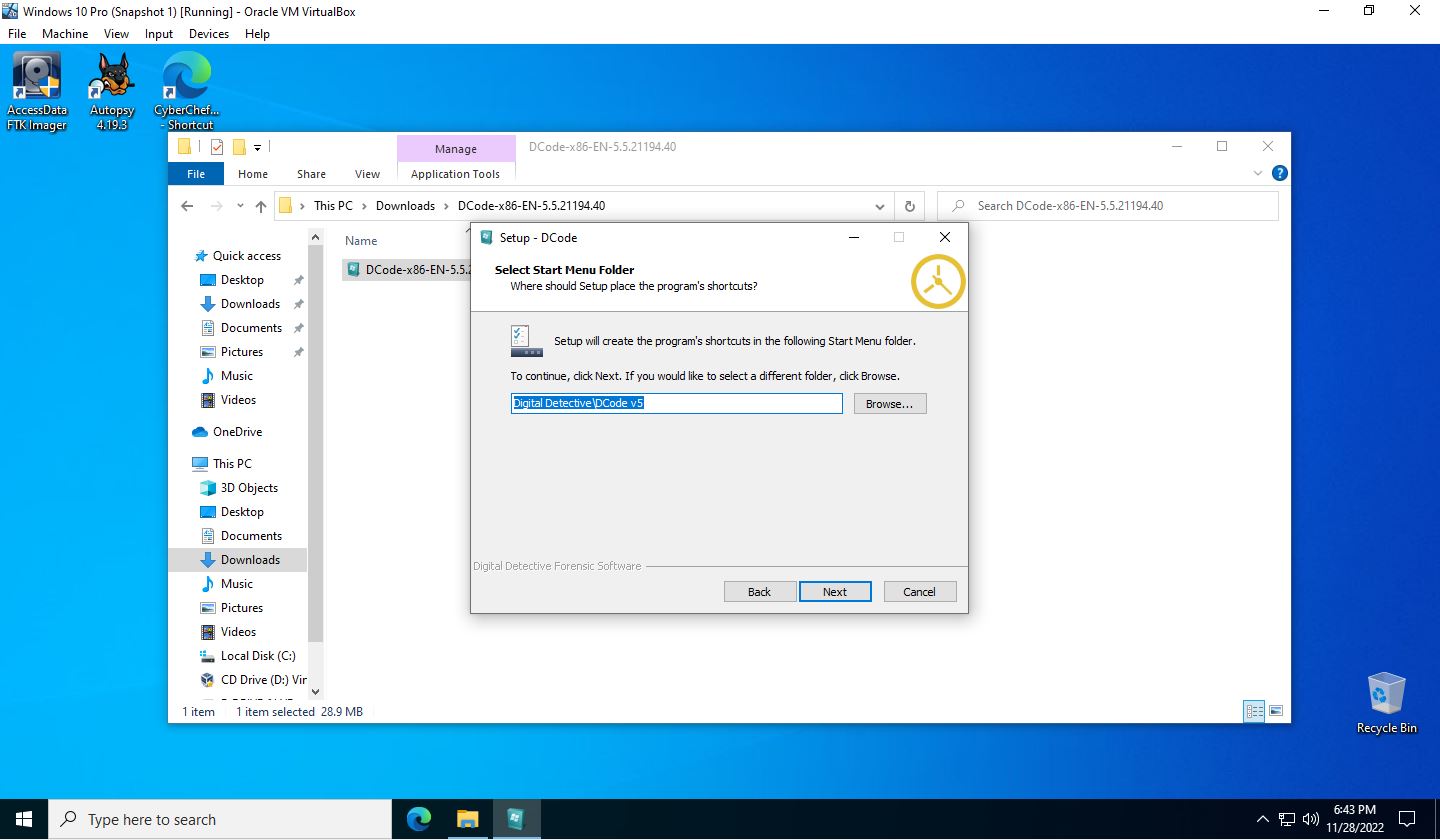
Figure 32 - Leave the default Start Menu path to default, and select “Next”.
Leave the create a desktop shortcut option checked, and select “Next”.

Figure 33 - Leave the Create Desktop Shortcut option checked and select “Next”.
Select “Install” to install the DCode tool.

Figure 34 - Review the installation settings and select “Install”.
When the installation process finishes, select “Finish” to exit the installer.
DCode is now successfully installed! A complete tutorial and blog post on this tool is coming in a future blog post.

Figure 35 - DCode is successfully installed. Click “Finish” to exit the installer.
Eric Zimmerman Tools:
The next set of essential tools for digital forensics we will install come from Eric Zimmerman. Eric is a former FBI special agent who now works at Kroll and has been a huge inspiration to many within the DFIR community. Eric provides his tools freely to everyone and is constantly updating the tools to make sure they are consistently providing accurate results. These tools easily rival if not beat the paid commercial tools and will in most cases beat them in both processing times and accuracy. Eric Zimmerman’s tools can be downloaded and installed using his Powershell script. The script and the associated files can be found here:
https://github.com/EricZimmerman/Get-ZimmermanTools
Give Eric Zimmerman a follow on Twitter: @EricRZimmerman and check out his blog:
https://binaryforay.blogspot.com.
See Figure 36.
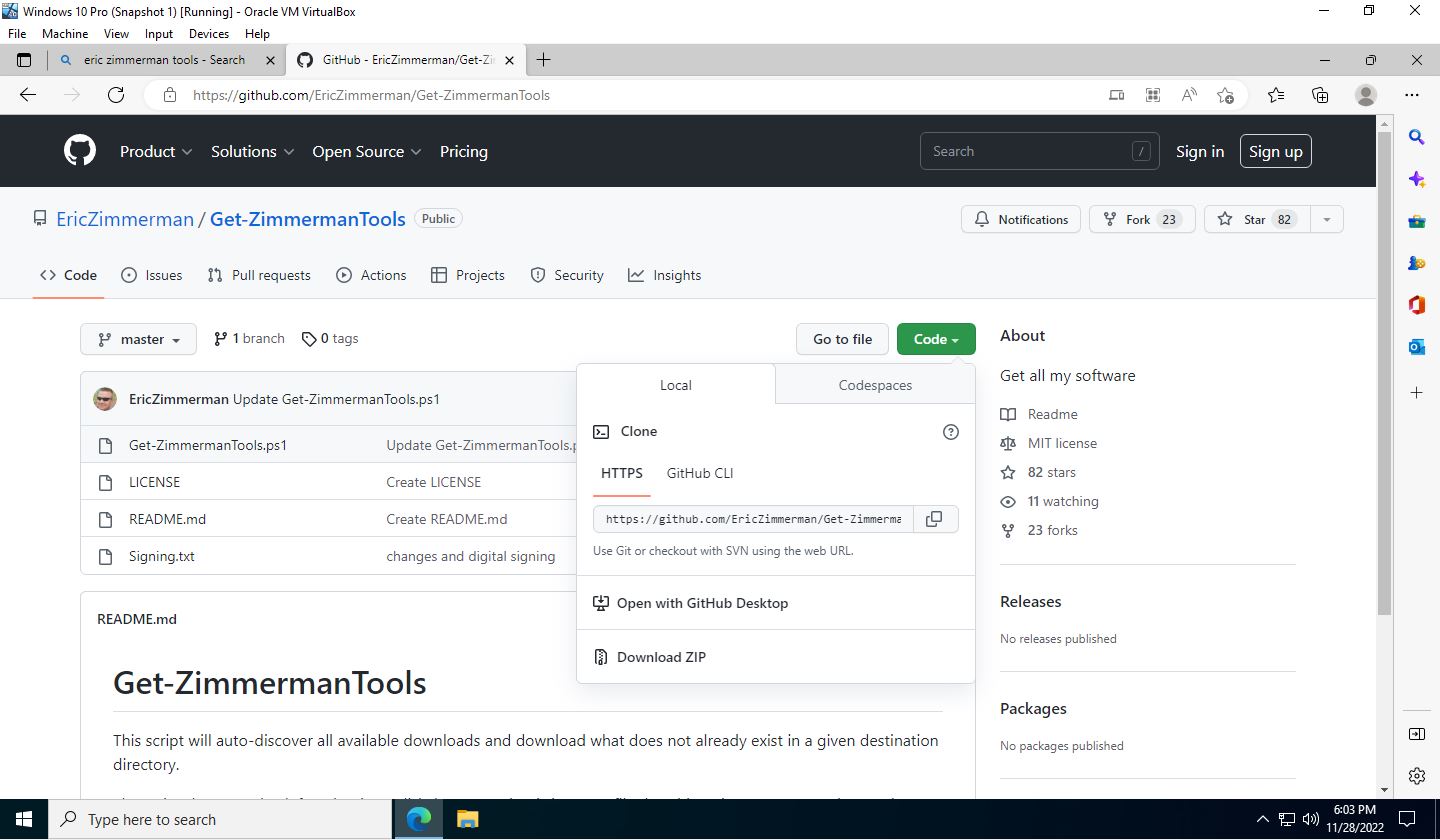
Figure 36 - Eric Zimmerman’s GitHub repository “Get-ZimmermanTools”
Click on the green “Code” button and select “Download ZIP” to download the files from the repository.
Once the file has finished downloading, navigate to the Downloads directory.
Right click on the ZIP folder and select, “Extract all.”

Figure 37 - Extract the files from the Get-ZimmermanTools-master zipped folder.
Right-click on the Desktop and select “New” > “Folder”
Rename the new folder to “EZ TOOLS”
Copy the contents of the unzipped Get-ZimmermanTools-master folder into the EZ TOOLS folder.

Figure 38 - Unzipped Get-Zimmerman Tools-master folder.
Right-click on the “Get-ZimmermanTools.ps1” file and select Open with Powershell.
The Powershell script will download all of the tools to the EZ TOOLS directory.
Once the files have been downloaded, close the Powershell window.
Next, we need to install the .NET 6.0 framework.
Use the following link to download the .NET 6.0 SDK from Microsoft:
https://download.visualstudio.microsoft.com/download/pr/08ada4db-1e64-4829-b36d-5beb71f67bff/b77050cf7e0c71d3b95418651db1a9b8/dotnet-sdk-6.0.403-win-x64.exe
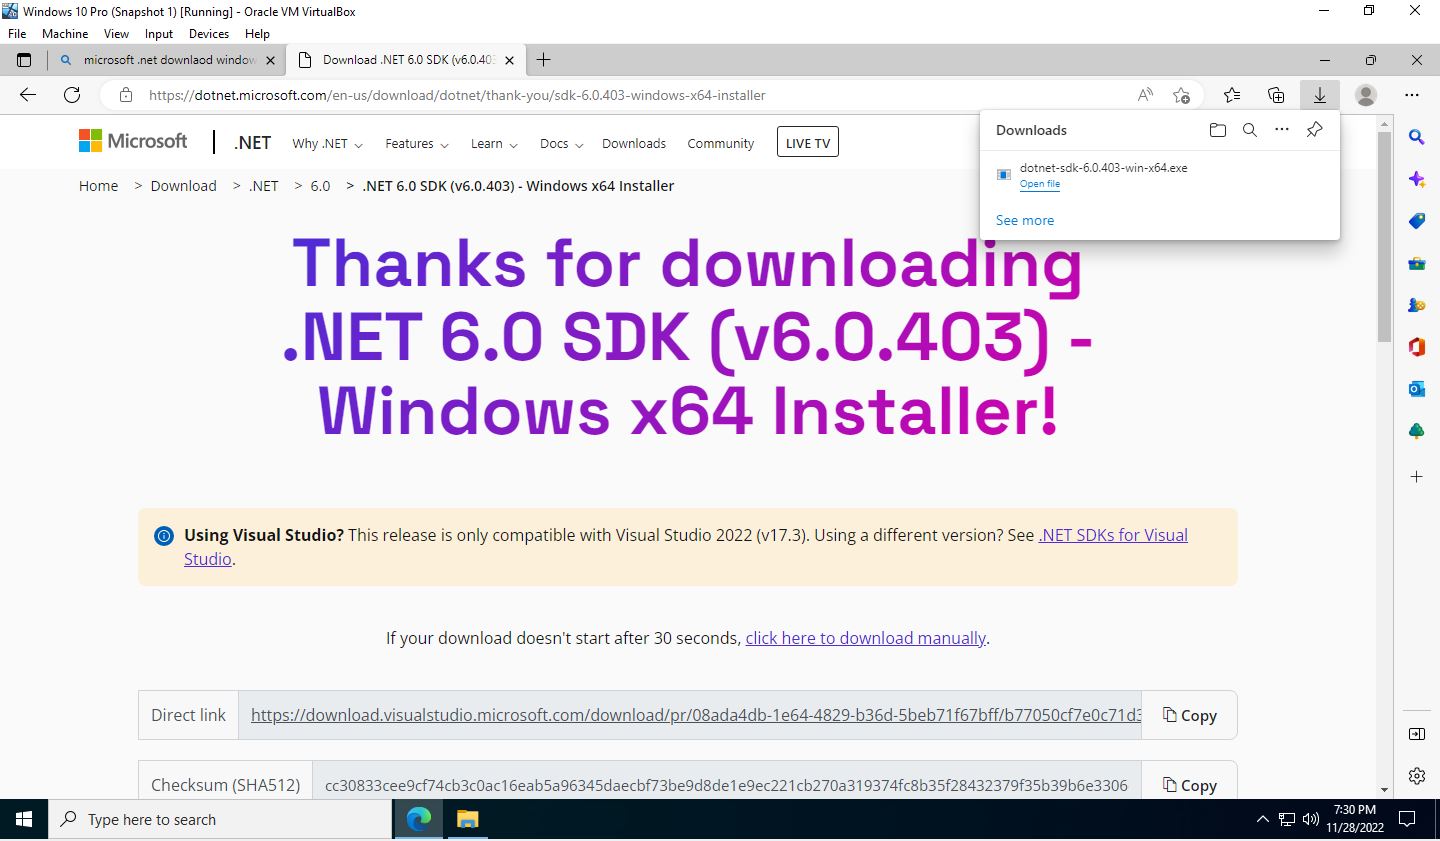
Figure 39 - Download the .NET 6.0 SDK
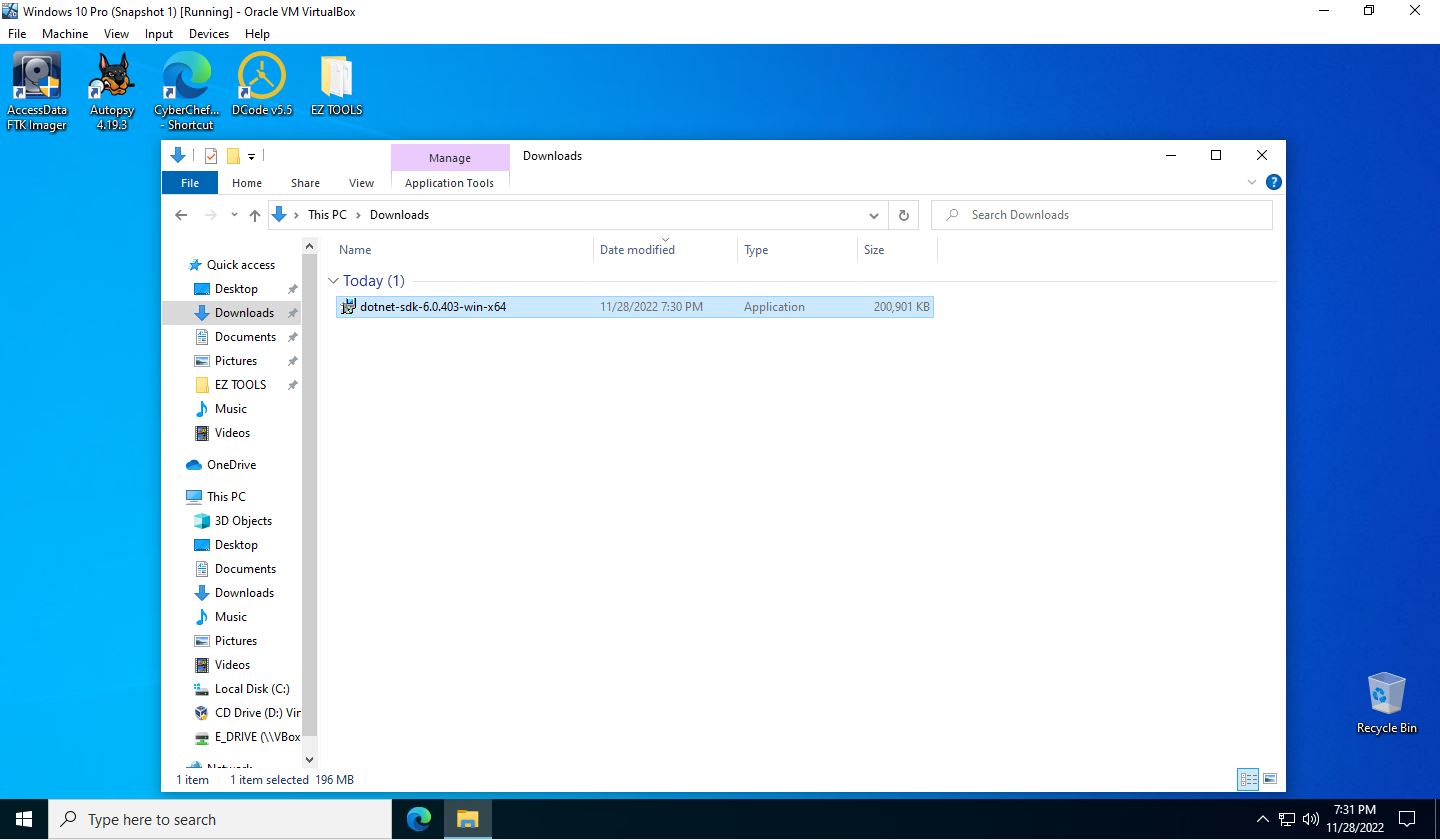
Figure 40 - Downloaded .NET Installer file.
Once the file has finished downloading, double-click on the file to start the installation process.
A new window will open and guide our installation process.

Figure 41 - Microsoft .NET SDK 6.0 Installer.
Select “Install”.
A new “User Account Control” window will open, asking if we want to make changes to the device by installing .NET SDK 6.0.
Select “Yes”.
See Figure 42.
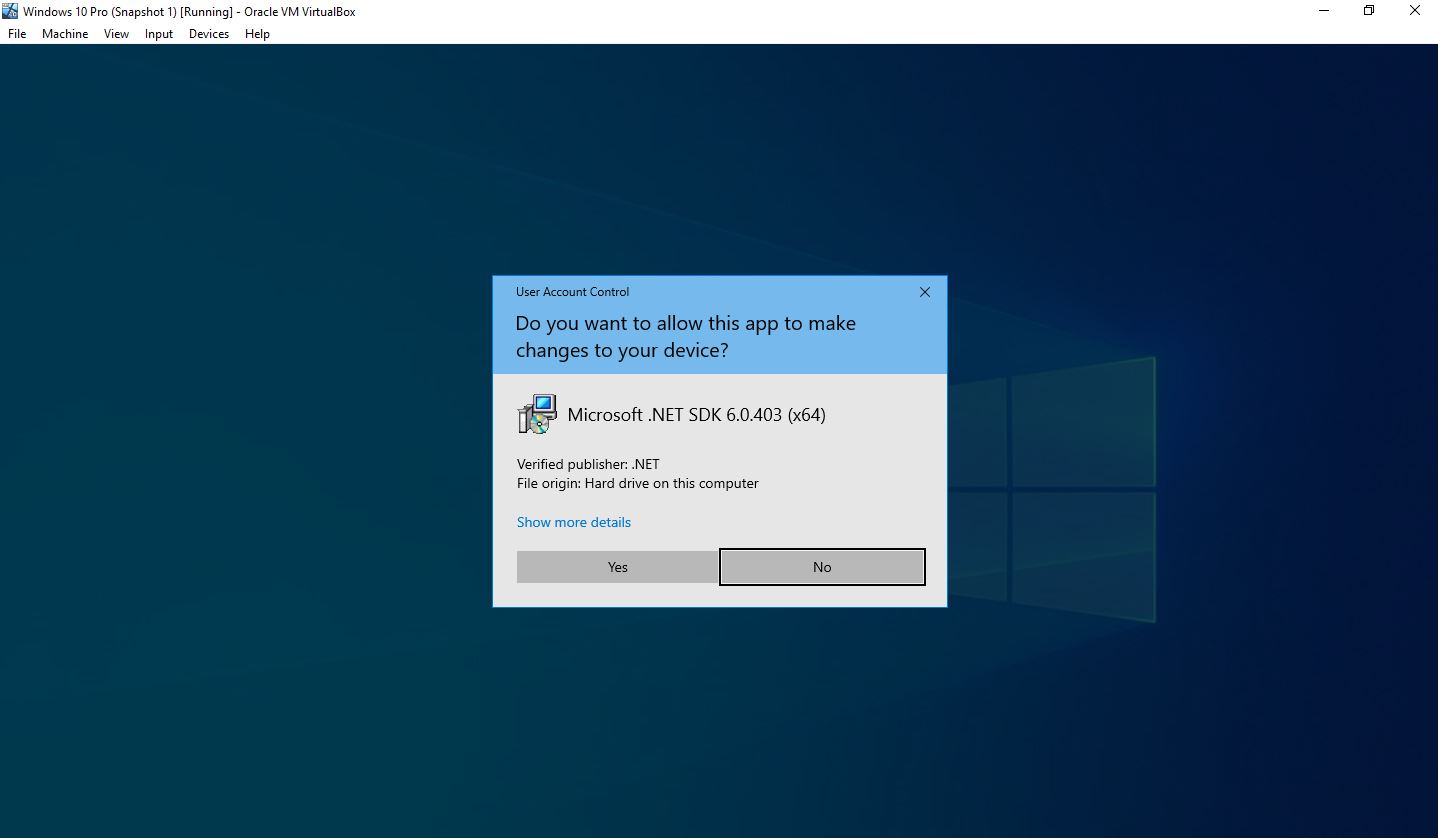
Figure 42 - User Account Control window, Select “Yes”.
Wait for the .NET 6.0 SDK to install.
When it finishes you will see the message, “The installation was successful.”
Press “Close” to exit the installer.
Congratulations! Eric Zimmerman’s tools are now set up and ready to be used.
QPhotoRec:
Next we will install QPhotoRec, a very powerful file and data carving tool. This free and open source tool is written by Christophe Grenier of CGSecurity and can be downloaded at:
https://www.cgsecurity.org/wiki/TestDisk_Download
QPhotoRec is just one of the tools in the downloaded suite of tools known as TestDisk. We will download the entire suite but will typically only ever use "QPhotoRec" for our forensic examinations. A future blog post and tutorial will be coming soon showcasing the features and use cases for QPhotoRec.
See Figure 43.
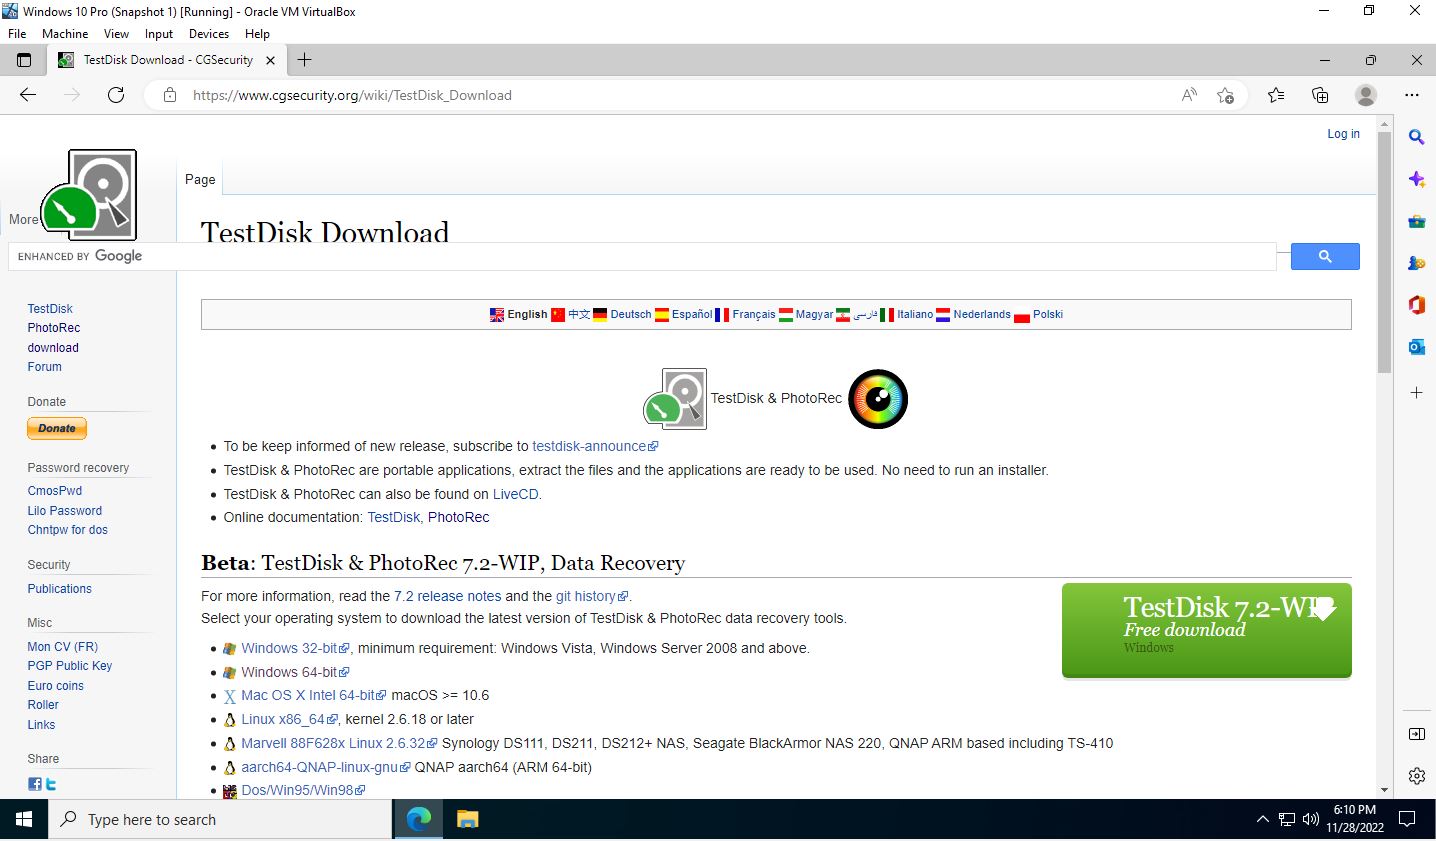
Figure 43 - CGSecurity’s TestDisk Download website.
Click on the Windows 64-bit version and wait for the file to finish downloading.
When the download is complete, navigate to your Downloads directory.
Right-click on the zipped folder and select “Extract all.”
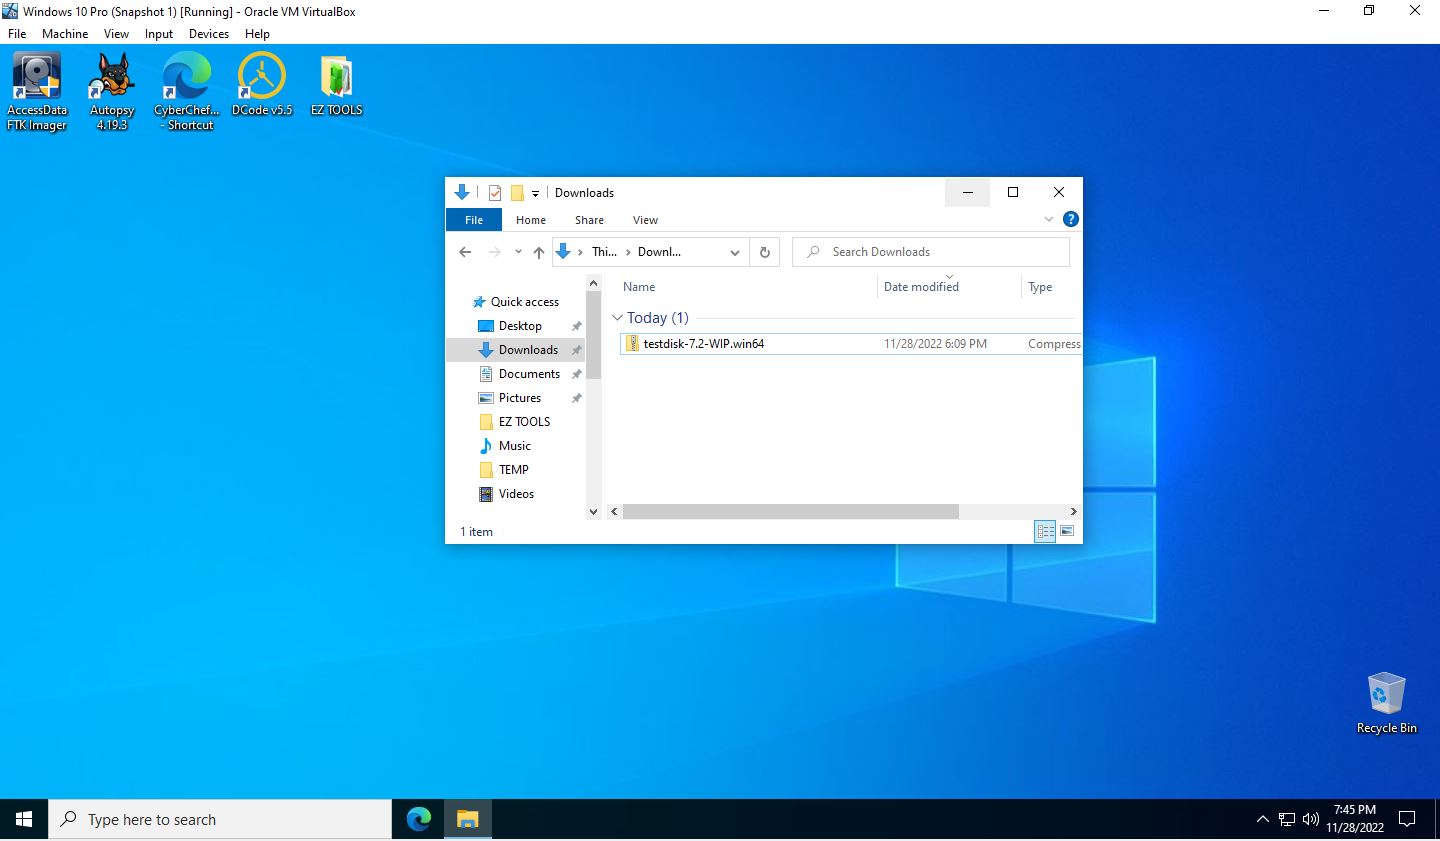
Figure 44 - Downloaded zipped folder containing TestDisk.
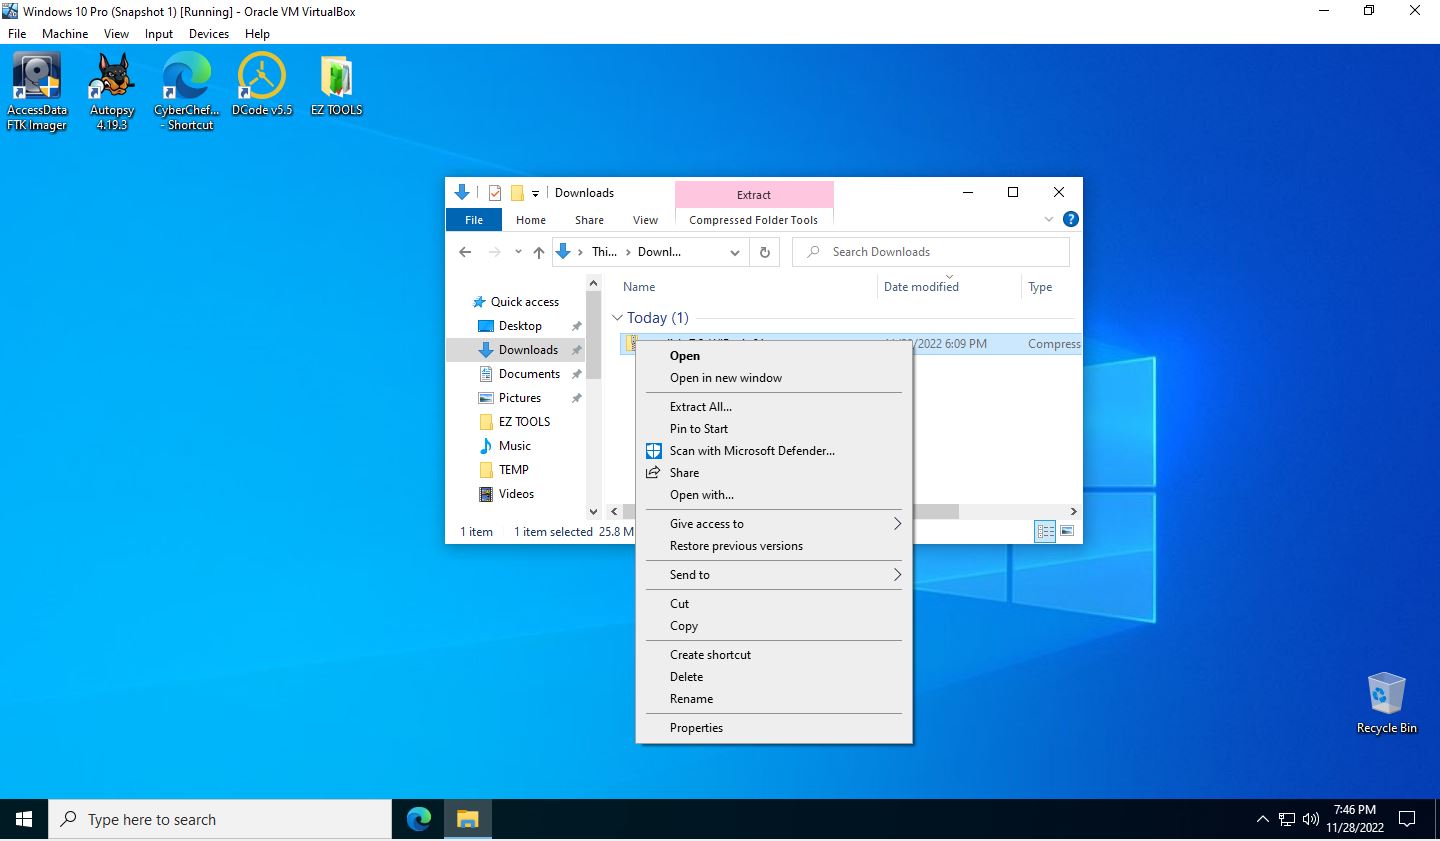
Figure 45 - Right-click on the downloaded file and select “Extract All”.
After the file has been decompressed you will have folder called, “testdisk-7-2-WIP”.
Click once on the folder and use the keyboard “Control + x” to cut the folder and place it on the clipboard.
Navigate to the ”C:\Program Files” directory.
Use the keyboard “Control + v” to paste the folder into the “C:\Program Files” directory.
A Windows warning window will open up and ask for Admin permission to make changes in this directory.
Click “Continue” to give Admin permission and copy the folder.

Figure 46 - Admin permission needed to copy files and/or folders to the “C:\Program Files” directory.
Once the folder has copied to the C:\Program Files directory, open the TestDisk folder.
Inside the folder you will find the file named, “qphotorec_win”.
Right-click on the file and select “Send to” > “Desktop (create shortcut)”.
Congratulations! QPhotoRec is now installed on your system.
HxD Hex Editor:
Last, but certainly not least, our forensic workstation wouldn’t be complete without a Hex Editor. I recommend the “HxD Hex Editor” as it is absolutely free, and has a lot of features built right in. The tool was written by Maël Hörz from Germany. I am not planning to do a “Hex Editor” tutorial as of right now. However, I will use the hex editor regularly in conjunction with other planned blog posts, tutorials, and practical exercises. The HxD Hex Editor can be downloaded from:
See Figure 47.
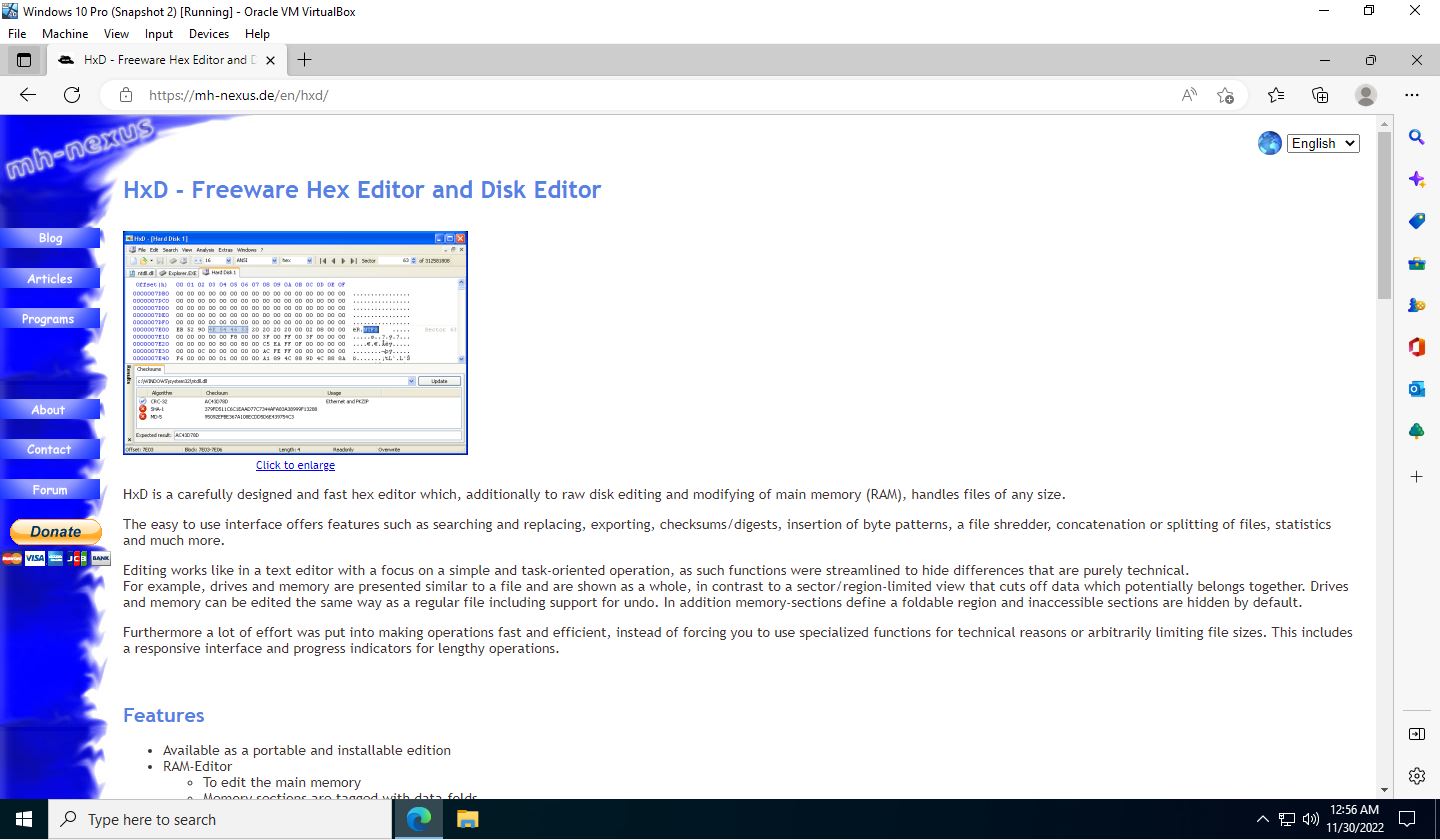
Figure 47 - HxD Hex Editor website.
Download the HxD Hex Editor.
When the download is complete, navigate to your Downloads directory.
Right-click on the zipped folder and select “Extract all.”
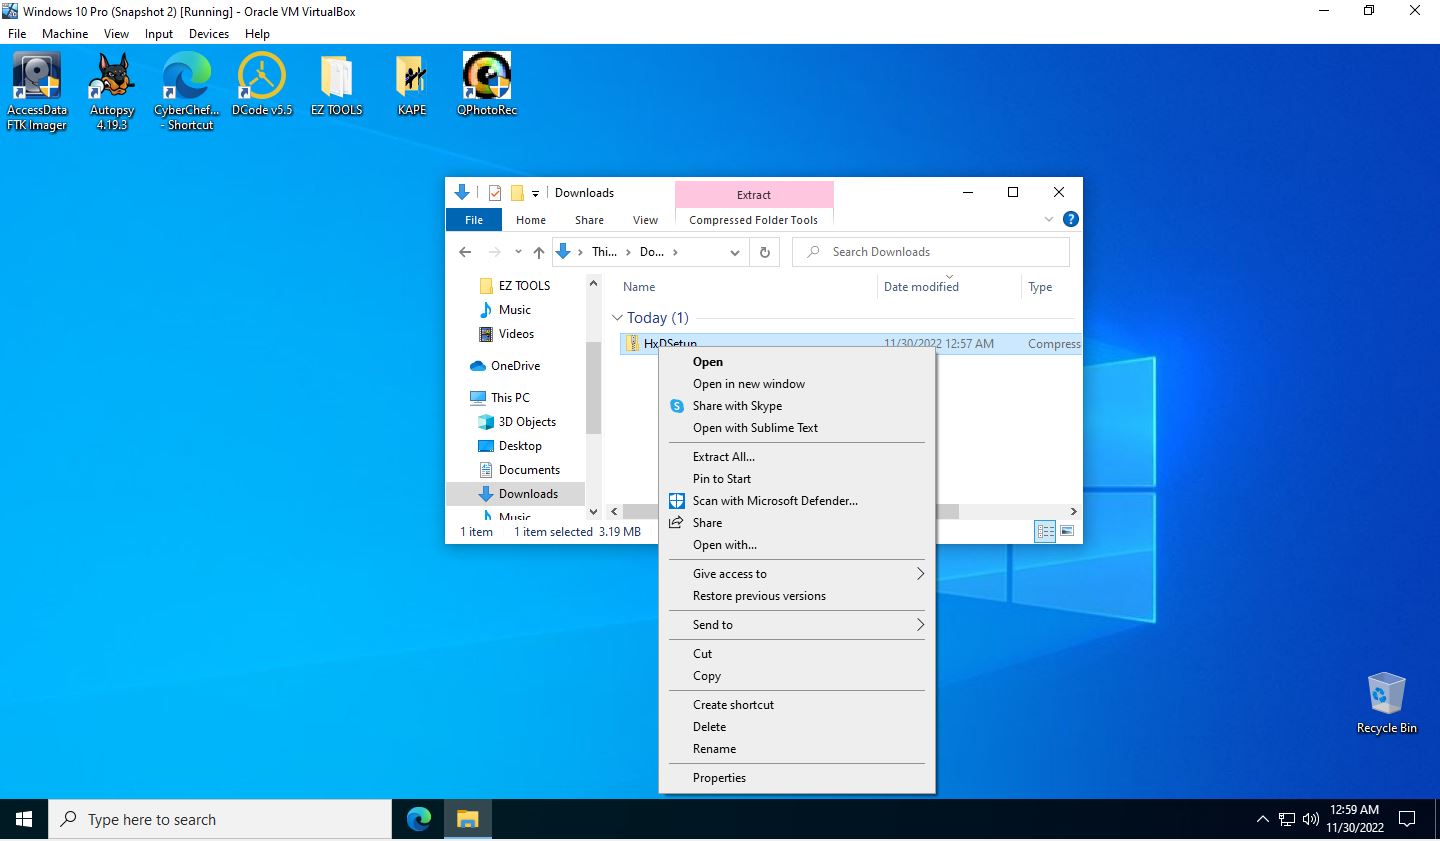
Figure 48 - Extract the contents of the zipped folder.
Open the decompressed folder and double-click on the “HxDSetup.exe” file.
A new “User Account Control” window will open, asking if you want to make changes to the device by installing HxD Hex Editor.
Select “Yes.”
See Figure 49.

Figure 49 - User Account Control window for HxDSetup.exe, Select “Yes.”
The next window that opens will ask what language the install wizard should use.
Select the language of your choice, I selected “English”
Then select “Okay”.
Figure 50 - Select the setup language and click “Okay”.
A new window will open and present the user with a License Agreement.
After reading the license agreement, select “I accept the agreement.”
Then press “Next”.
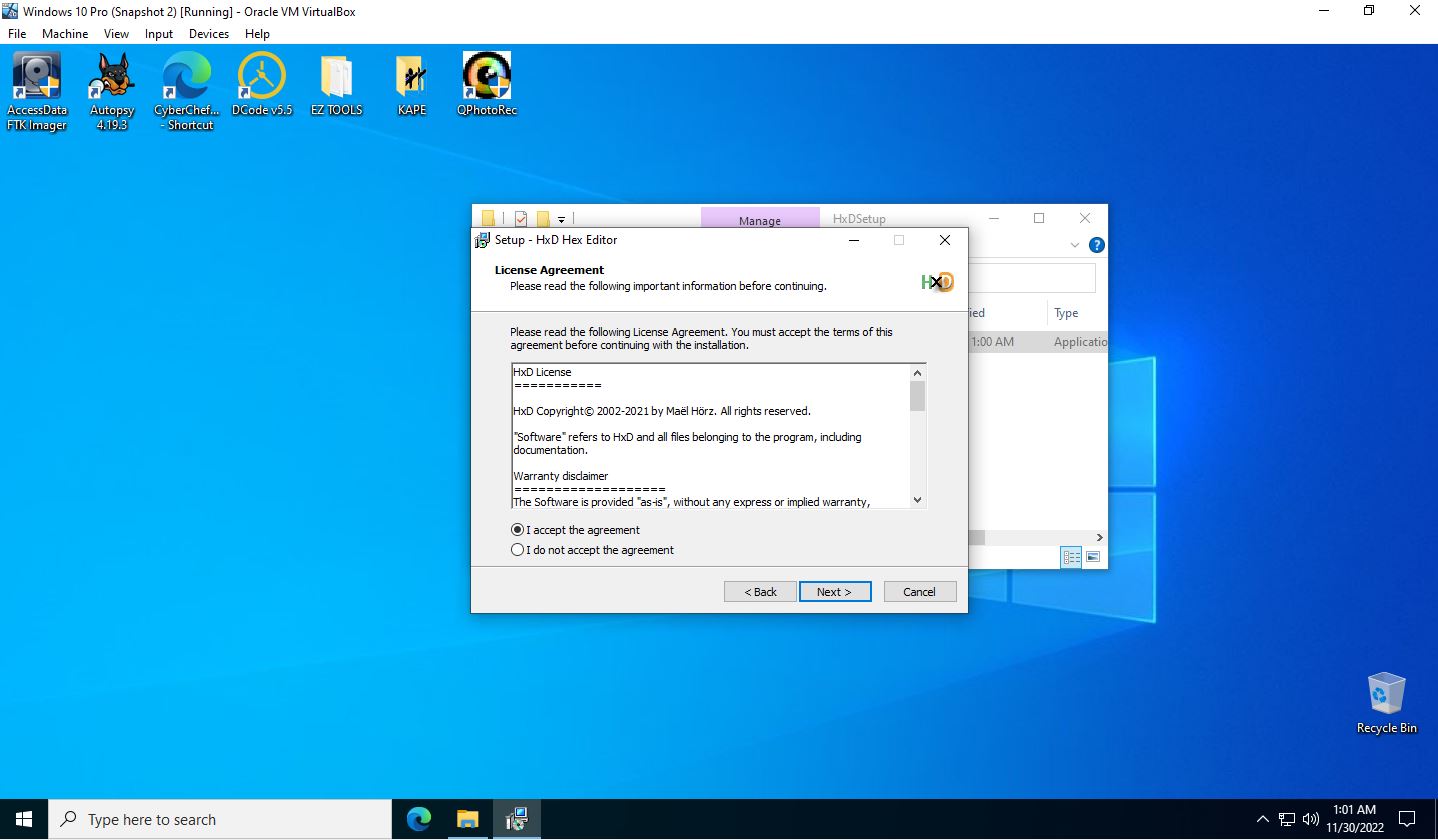
Figure 51 - Read and accept the license agreement and select “Next”.
On the next window leave the default installation path as it is and select “Next”.
See Figure 52.

Figure 52 - Leave the default installation path alone and select “Next”.
Next, the installer will ask about creating a start menu folder.
Leave the default settings and select “Next”.
See Figure 53.
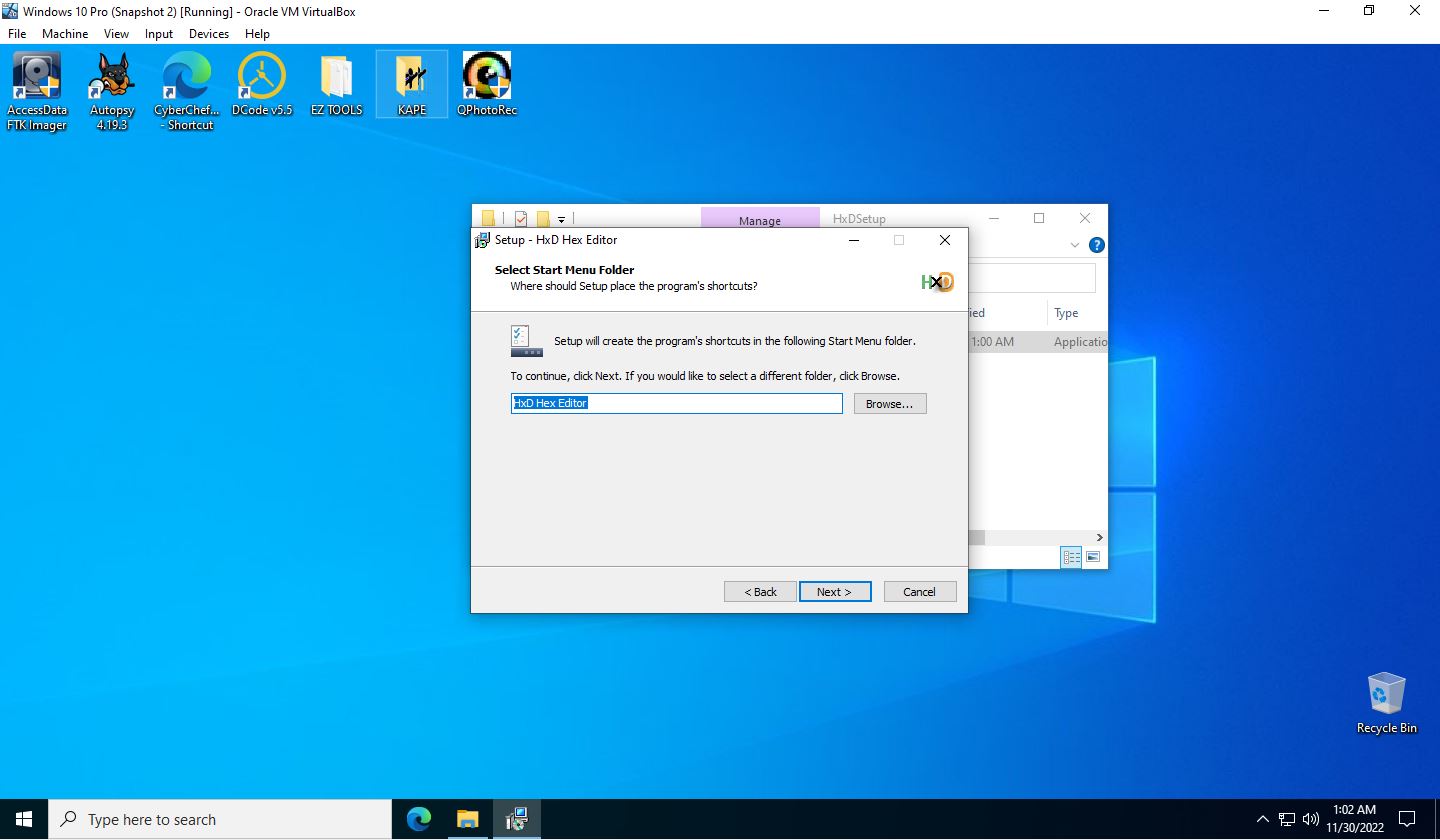
Figure 53 - HxD Hex Editor installer creating Start Menu Folder.
Next, the installer will ask about creating additional shortcuts.
Check the box to create a desktop shortcut.
Uncheck the box to create a Quick Launch shortcut.
Select “Next”.
See Figure 54.

Figure 54 - HxD Hex Editor creating a desktop shortcut.
Next the installer will ask you to review the details before installing.
Select “Install” to continue.

Figure 55 - Review installation settings and select “Install”.
Wait for the installer to complete the installation.
A new window will appear telling you the installation was successful.
Select Finish to exit the installer.

Figure 56 - Successful Installation of HxD Hex Editor.
And... we are DONE! We will continue to update and build our forensic workstation tool set from here, but, this gives us a solid base from which to practice and learn with.
Remember to power off the VM and take another Snapshot (Call it Snapshot 2 and give it a brief description of "Base Windows 10 Pro + Forensic Tools"). It's also a good idea to copy the entire VM to a second location for safe keeping.
In future blog posts we will install additional tools and applications that can help us with our forensic examination process. We will further configure some of these tools and add datasets from the National Institute of Standards and Technology (NIST) - National Software Reference Library (NSRL) known file filters based on file hashes. I also plan to do a mobile forensics blog post where we will install some free and/or open source tools to conduct smartphone and mobile device forensic examinations with.
If you have found this blog post useful, please consider sharing it with your social networks so that it can reach more viewers. Also, please subscribe to this blog as it will help me grow this blog and you will stay informed with any new posts that I make.
I am also very interested in hearing from you... Leave me a comment below and answer some or all of these questions:
1. How did the installation process go for you?
2. What forensic tools or applications do you use?
3. Got any ideas of future topics you would like me to cover?
Disclaimer: I DO NOT have any personal or professional relationships with any of these companies or individuals mentioned in this article and I am not receiving any form of compensation for mentioning them or their products.
No comments:
Post a Comment